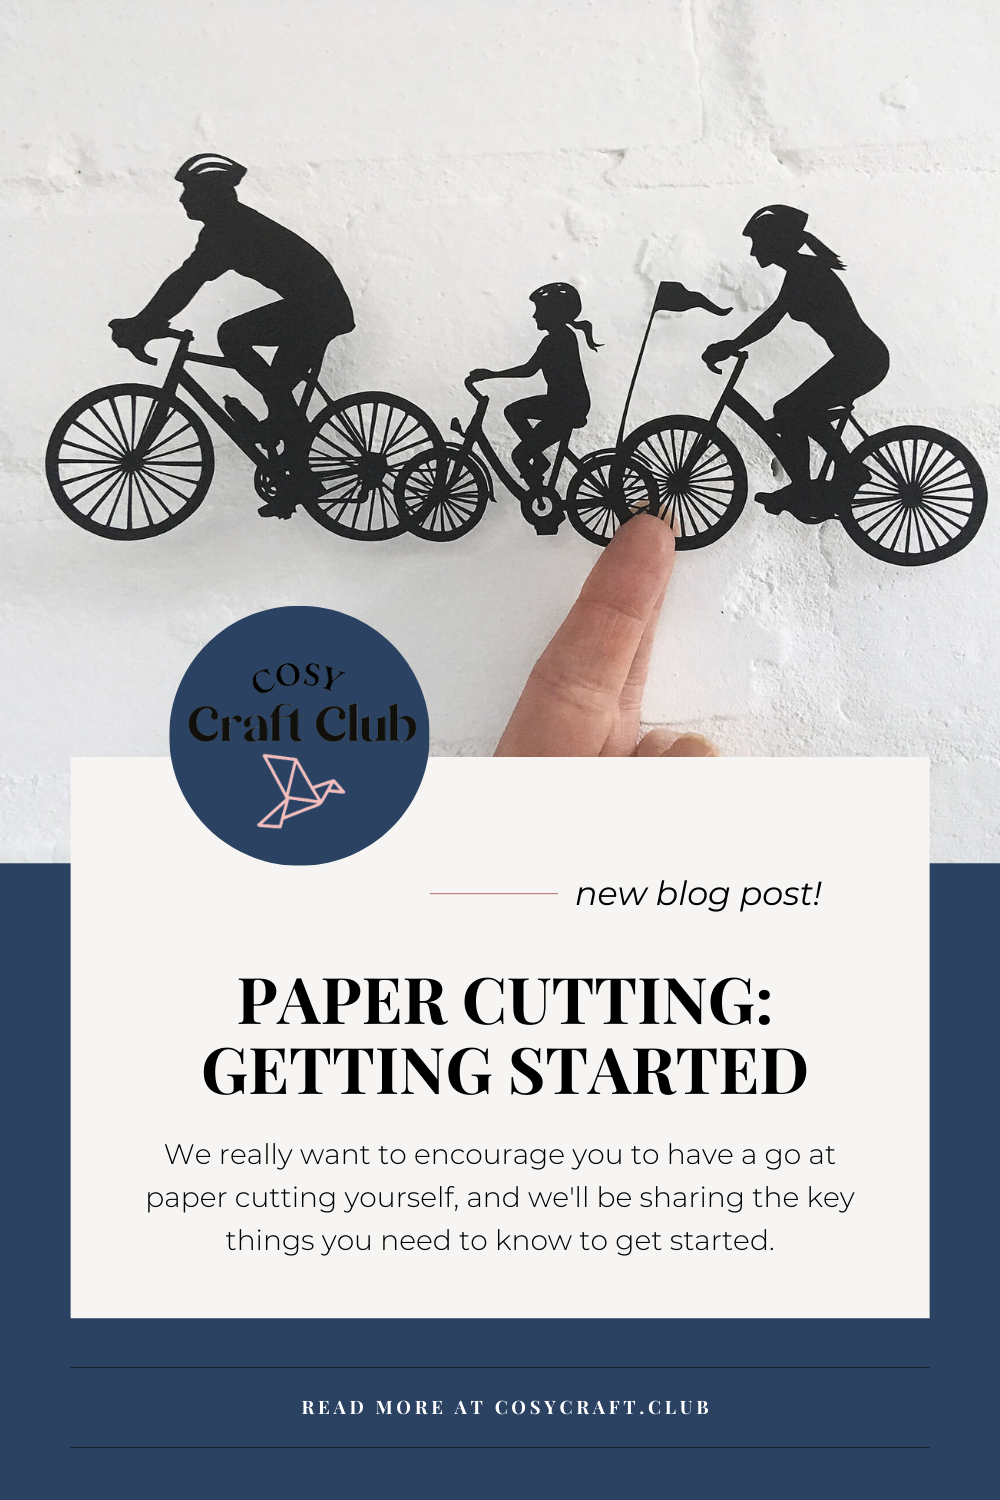
We really want to encourage you to have a go at paper cutting yourself, and we'll be sharing the key things you need to know to get started.
Paper cutting commonly involves cutting away areas of a single sheet of paper away to reveal a beautiful design. Other forms of paper cutting involve layering cut paper shapes to amazing effect - but we're going to focus on the main type here.
The great thing about paper cutting is that all you need to get started is a craft knife handle, a blade and a cutting mat - oh, and some paper to cut, of course!
Craft knife
You can get disposable craft knives which include the blade, but since you may end up getting through a lot of these, it's probably better to get a separate handle and just change the blade. Samantha from SAS Creative recommends the Swann Morton No. 3 handle and 10a blades, but she also says that it's important to find the right knife that feels comfortable in your hand - you might want to try a few different ones. In her paper cutting videos (which I'll mention more later), Grace Hart recommends Excel no. 11 blades.
If you get more proficient at paper cutting, and want to invest in further tools, Kyleigh from Kyleigh's Papercuts recommends a Fiskars Swivel Blade Scalpel for cutting curves and small shapes (available from Hobbycraft).
Most craft shops will sell craft knives and blades, although eBay and Amazon are the cheapest places to buy blades in bulk (which you might need if you really get into it!).
Make sure you change your blade often and keep a stock of spare blades. I get through hundreds and change my blade regularly as paper blunts a blade quite quickly especially if you are cutting a heavier weight of paper. If you try cutting with a blunt blade you’ll be pressing harder, be more likely to make a mistake and not cut a clean line.
Lisa Jay

Photo: Lisa Jay
Cutting mat
A self-healing cutting mat is a must. This can also be purchased cheaply from eBay or Amazon. Kyleigh recommends the Ecobra cutting mat, while Bronwen from Bronwen's Paper recommends the Xcut self-healing mat (available from Amazon, Hobbycraft and The Range).
Paper
All the papercut artists I spoke to recommended you use 120-160gsm paper for your papercuts, with most preferring 160gsm. The Paper Roses were keen to point out that the weight is not the only thing that matters - it is important to use good quality paper.
Experiment with paper to find your favourites - anything from 90-160gsm is ideal for beginners and you could also try tissue paper, book pages and old maps!
Sarah King
A lovely way to bring your papercut to life is to place different colours behind the holes you have cut out. Sarah likes to use textured card for her infills, but really it doesn't matter exactly what you use here (it doesn't even have to be paper!) - this is somewhere you can really play around with materials to see how they look. See the 'displaying your papercut' section below for recommendations for adhesives to stick your infills on with.
Paper cutting books
There are tons of great resources to get you going if you want to try paper cutting. For a start, there are some really lovely books - and the great thing about the books is that they come with templates and sheets of paper to start cutting from straight away. Some favourites include:
The Crafter’s Guide to Paper cutting by Emily Hogarth
Papercut Landscapes by Sarah King
Nature Cuts by Georgia Low
Paper Panda's Guide to Paper cutting
Also, not a 'book' as such, but Emma Boyes has made paper cutting pads full of designs ready to cut out called Adventures in Paper Cutting - there are now 4 of them.
Emma Boyes has also created a lovely video of paper cutting tips - it's also very soothing to watch!
Online paper cutting resources
There are also a range of tutorials online to help you, many of which also show you how to design your own papercut. Tutsplus.com has some really useful articles showing you the basics of making a papercut word, cutting tricky letters and putting it all together to make a lovely papercut gift.
As I mentioned earlier, there is a series of videos by Grace Hart, which are packed full of useful paper cutting information. She talks about how to cut different shapes using a practice sheet, designing and cutting a beautiful papercut and how to frame your papercut.
If you don't like the sound of designing your own papercut, there are many places you can buy digital papercut templates to print onto your paper and cut yourself. I'll be talking through some of my favourite shops on Etsy to find these in my next post.
Also, don't forget we have a whole post devoted to paper cutting tips *** UPDATE LINK HERE*** which give some great pointers for getting started!
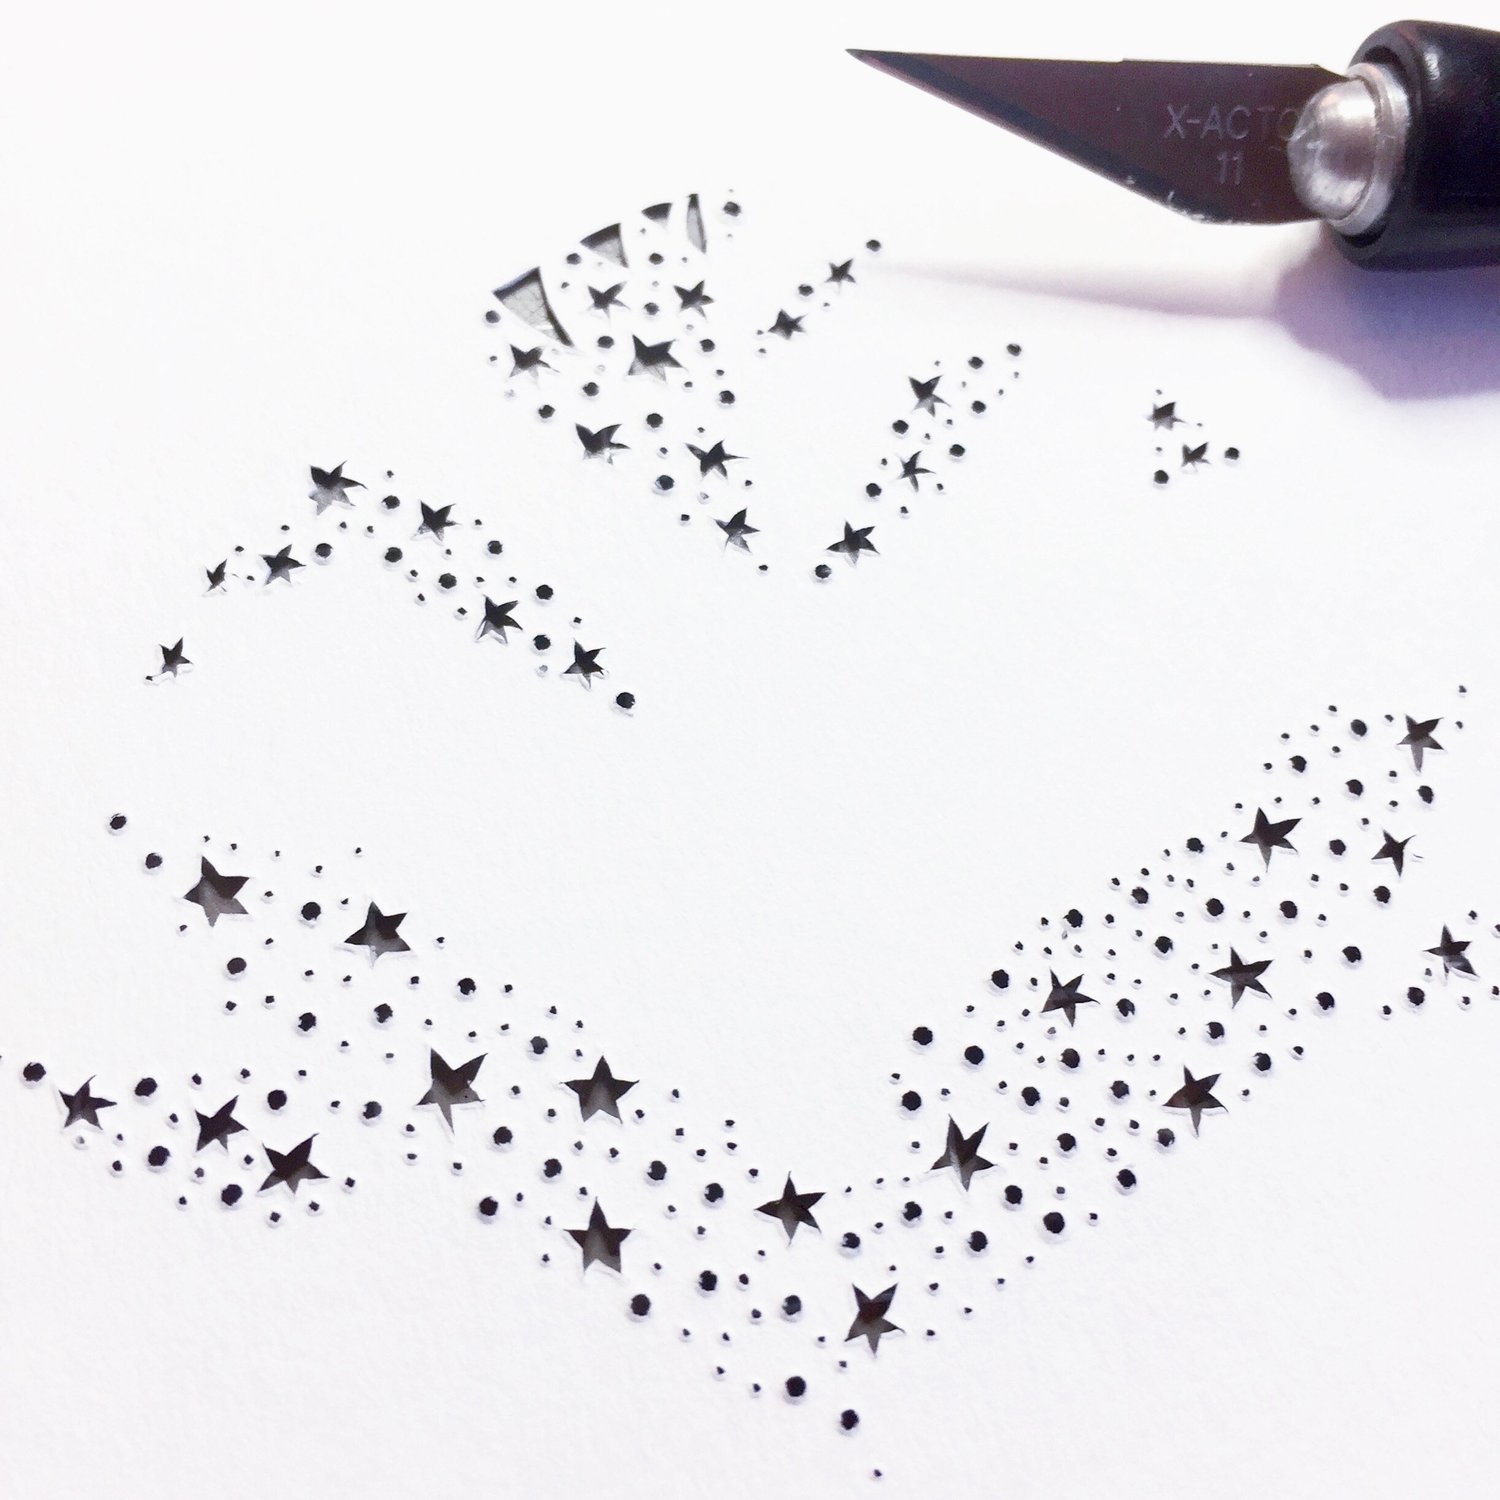
Photo: Caroline Argo
Displaying your papercut
Once you've finished your papercut, a great way to display it is to mount it onto a piece of contrasting coloured card or paper and frame it. For sticking, Grace Hart uses a glue stick applied with a craft knife. Alternatively, Lucy Dorothy suggests repositionable spray mount and Sarah King recommends a Sakura quickie glue pen or PVA glue applied with a tiny spreader (she uses a clay sculpting tool).
Papercuts also look great in double glass frames, which is where the paper is sandwiched between two sheets of glass so you can see straight through the cut away areas.
I hope that’s been really useful to you if you want to have a go at papercutting! If you do, please let me see what you made!
Rachel x
Cosy Craft Club is a craft box subscription - receive a beautiful kit to try a different craft every month! All our kits are suitable for beginners and contain everything you need to sit down and get crafting. Our kits are also available to purchase individually (subject to availability).