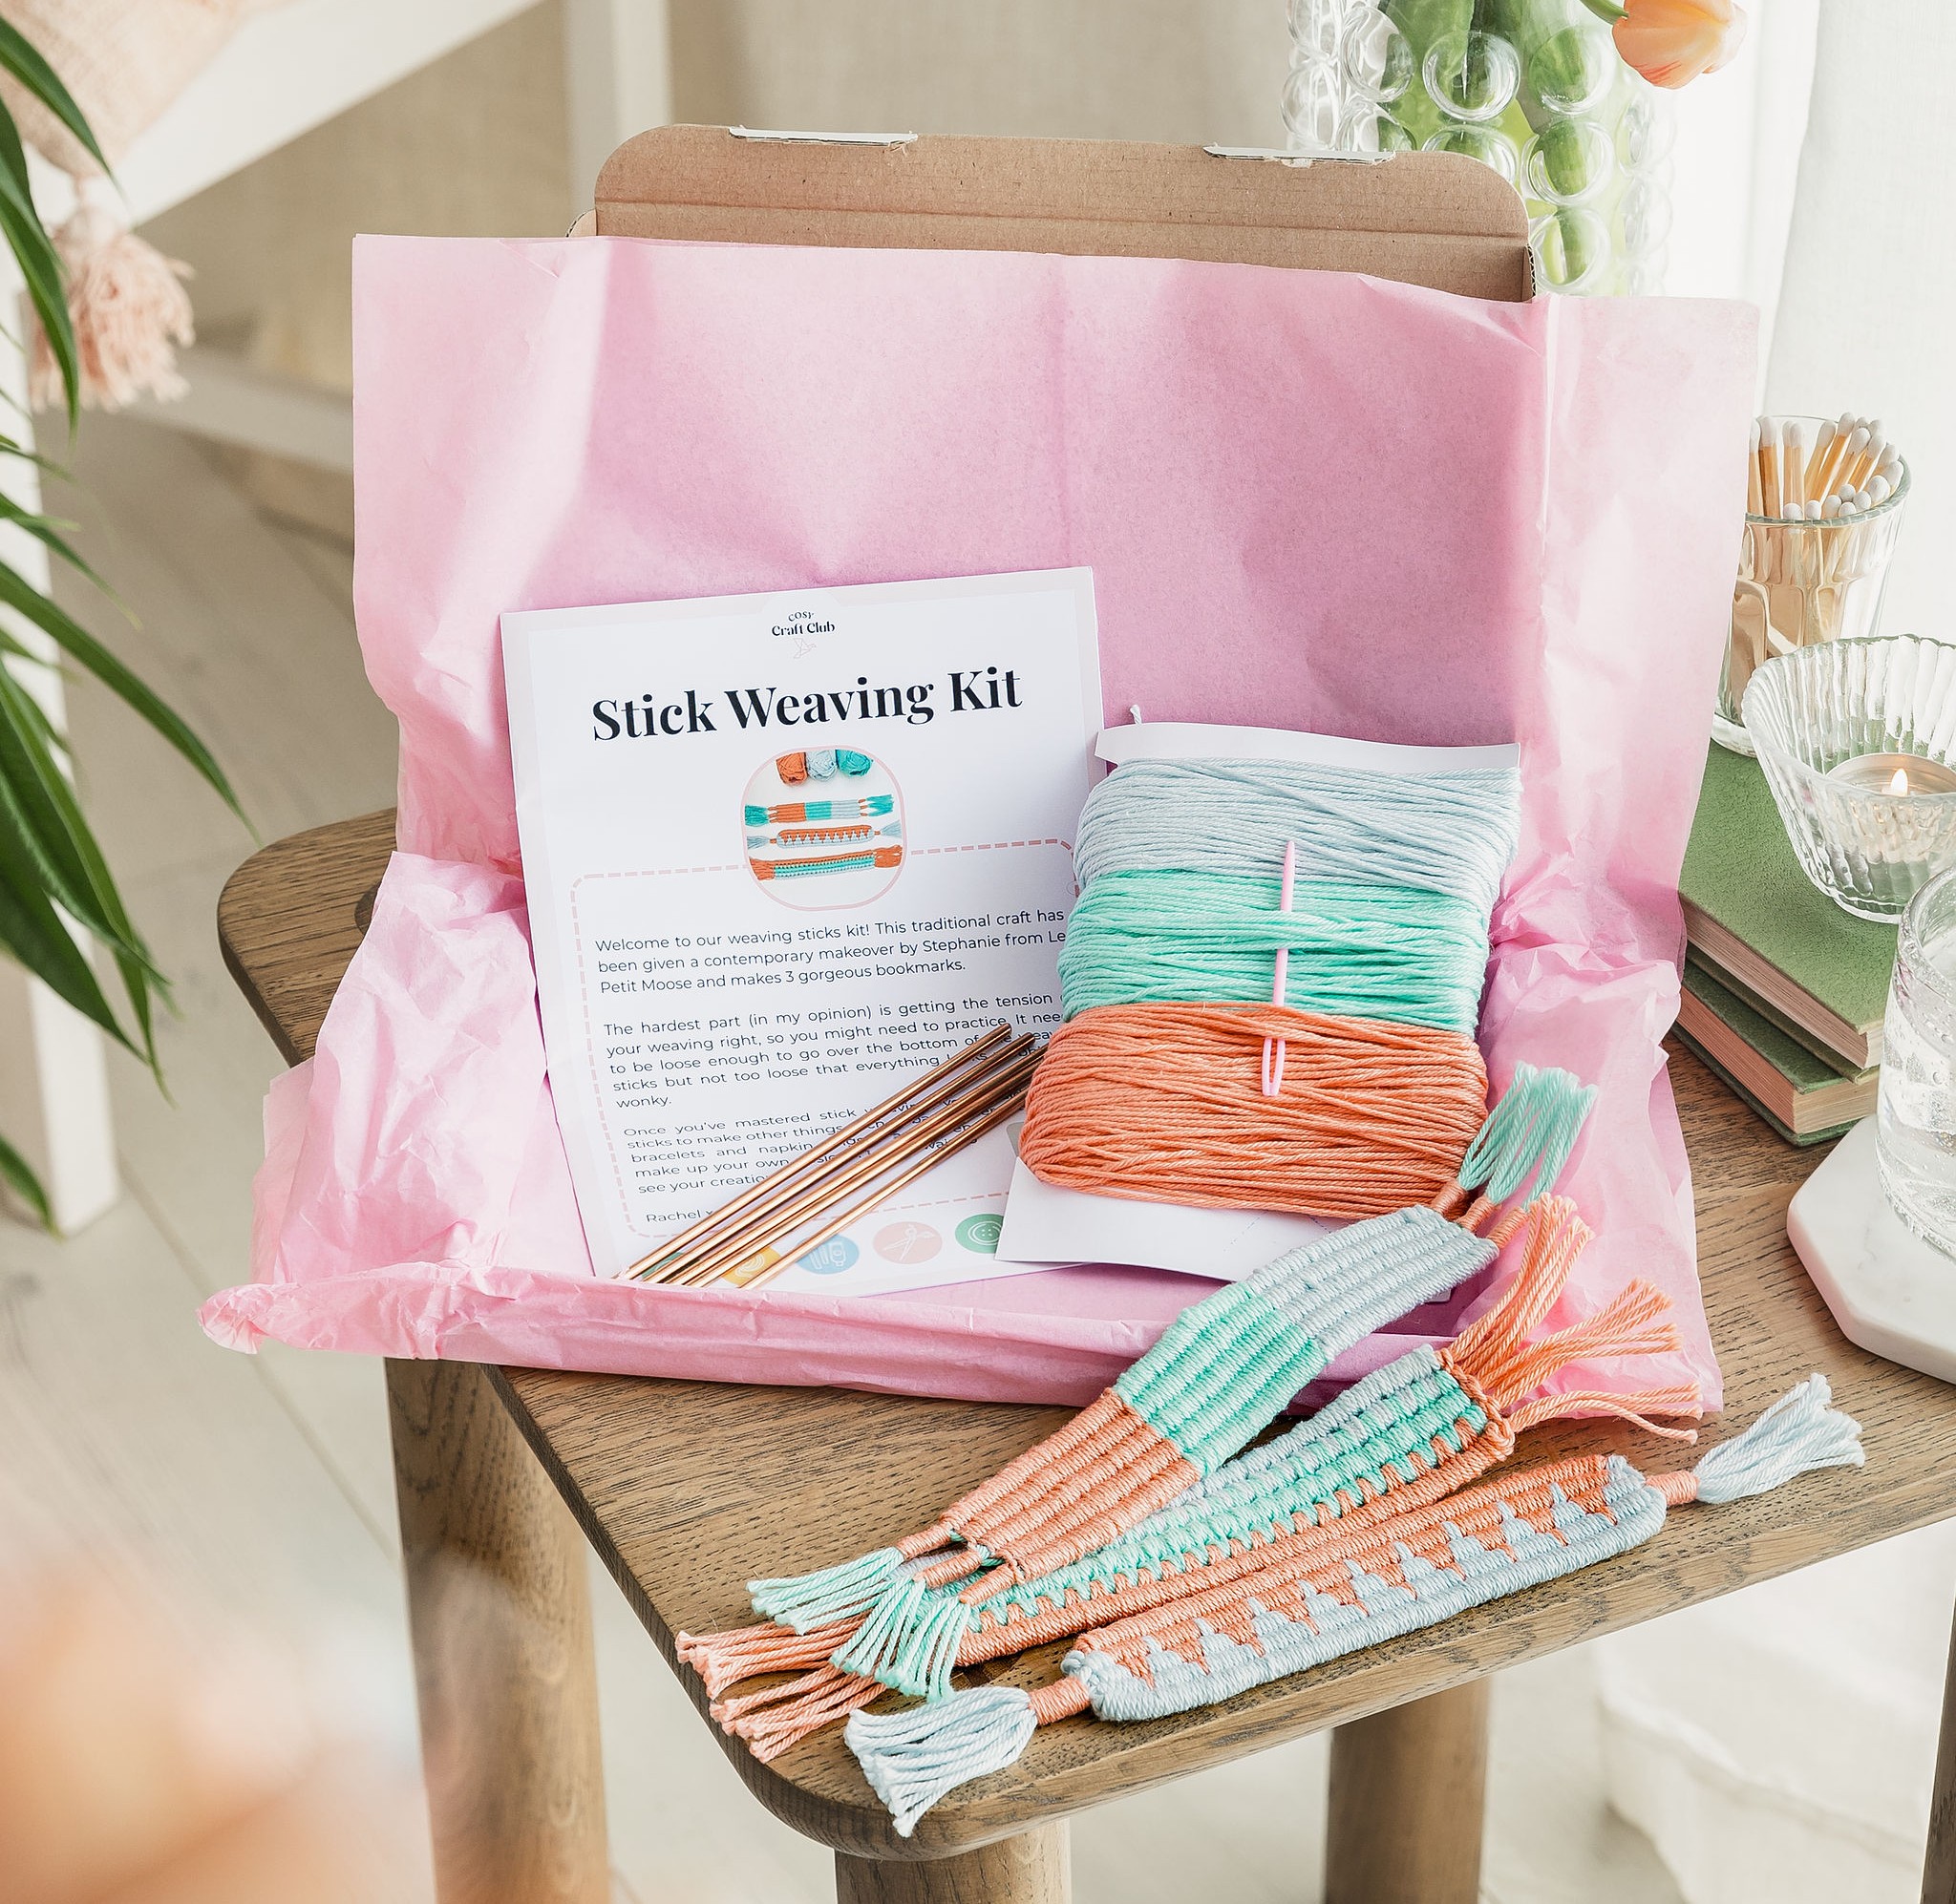
Stick weaving
Welcome to our stick weaving kit, created in collaboration with Stephanie from Le Petit Moose! This kit makes 3 bookmark designs, ranging from beginner to master level. This page contains extra resources to get you on your stick weaving journey, including a video tutorial, tips and inspiration for further stick weaving projects.
What is stick weaving?
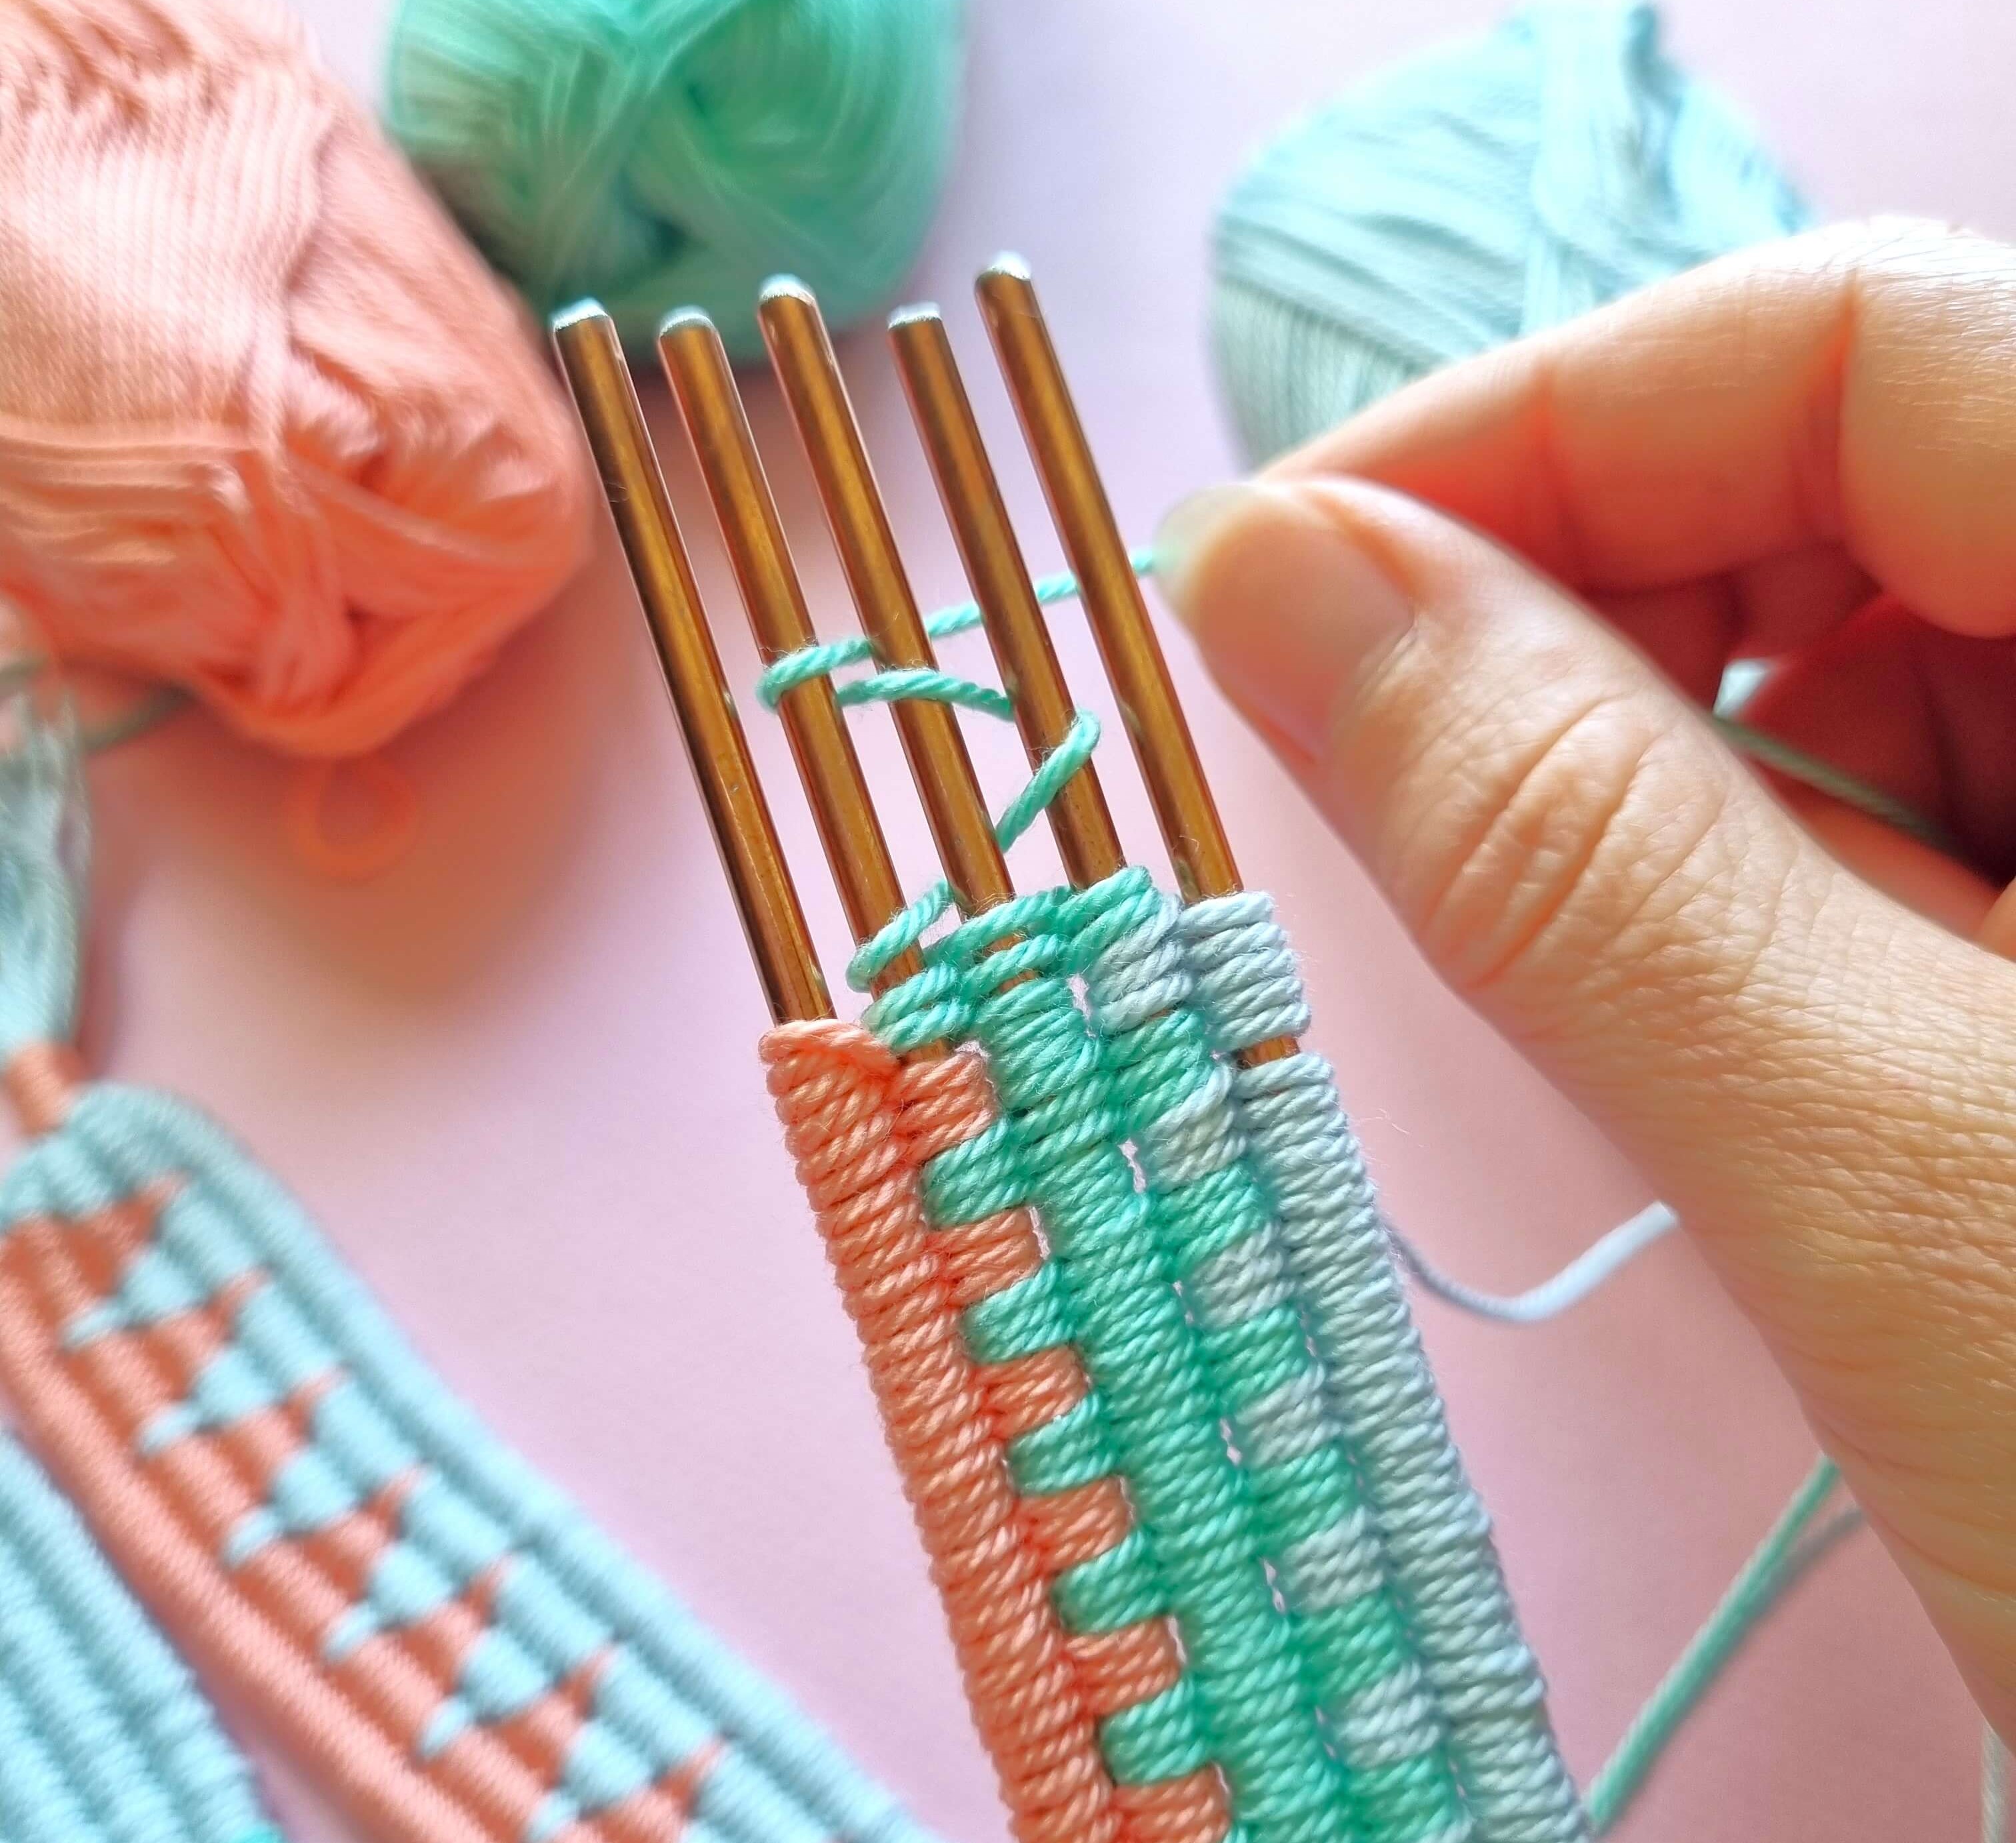
As the name suggests, stick weaving is weaving with special sticks! The weaving sticks are smooth, with a hole at one end and some are pointed at the other end. The end product is a strip of woven “fabric”, the width depending on the size of the sticks and how many you use in your project. The beauty of stick weaving is that you don’t need a loom, making it a portable craft and perfect for beginners to weaving.
The origins of stick weaving are unknown, but it is believed to have been used for centuries to create straps and fabrics. Stephanie has brought this traditional craft right up to date for our kit, using fine metal sticks and a smooth cotton yarn to create contemporary designs. Our kit makes 3 bookmarks, and I hope this inspires to try other projects with your weaving sticks!
My stick weaving experience
I found stick weaving to be easy to pick up and fun to do. I loved the gentle in-and-out repetitive motion of the weaving, it really allowed my mind to drift as I enjoyed creating my bookmarks.
In my experience, the most difficult aspect of stick weaving (which is a relatively simple craft) is getting the tension correct and even. It needs to be loose enough to be able to pull the woven section down over the bottom of the weaving sticks, but not so loose that it all looks wobbly. Also, with designs 2 and 3, you need to be careful when winding your yarn around individual sticks that the tension is the same as the winding around multiple sticks.
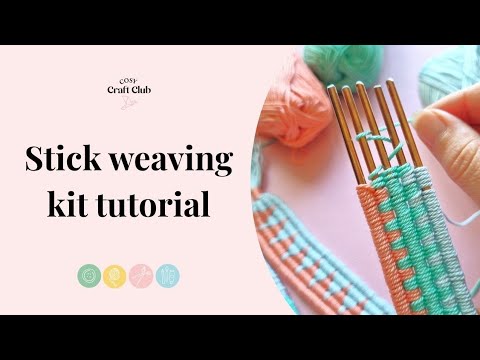
Watch my video tutorial for this kit!
Next steps
If you’ve enjoyed stick weaving, here are some further ideas of things that you use your weaving sticks to create:
- Napkin rings
- Bracelet
- Belt
- Bag strap
- Camera strap
Once you’ve exhausted all your ideas with your weaving sticks, it may be time to take things to the next level with a peg loom! This works in exactly the same way as your weaving sticks, but the loom holds the sticks in place and also means you can create much wider pieces on a larger number of sticks.
Stephanie’s book ‘Playful Peg Loom Weaving’ teaches you how to create further contemporary projects with both weaving sticks and peg looms. It’s a great resource with beautiful projects. You can purchase it at bookshop.org or other book retailers.

Further inspiration
There aren't a lot of stick weaving resources out there but I've compiled what I could find into a Pinterest board. I hope this helps to further inspire you to try new projects with your weaving sticks!
Click on the image below to see the full board!
