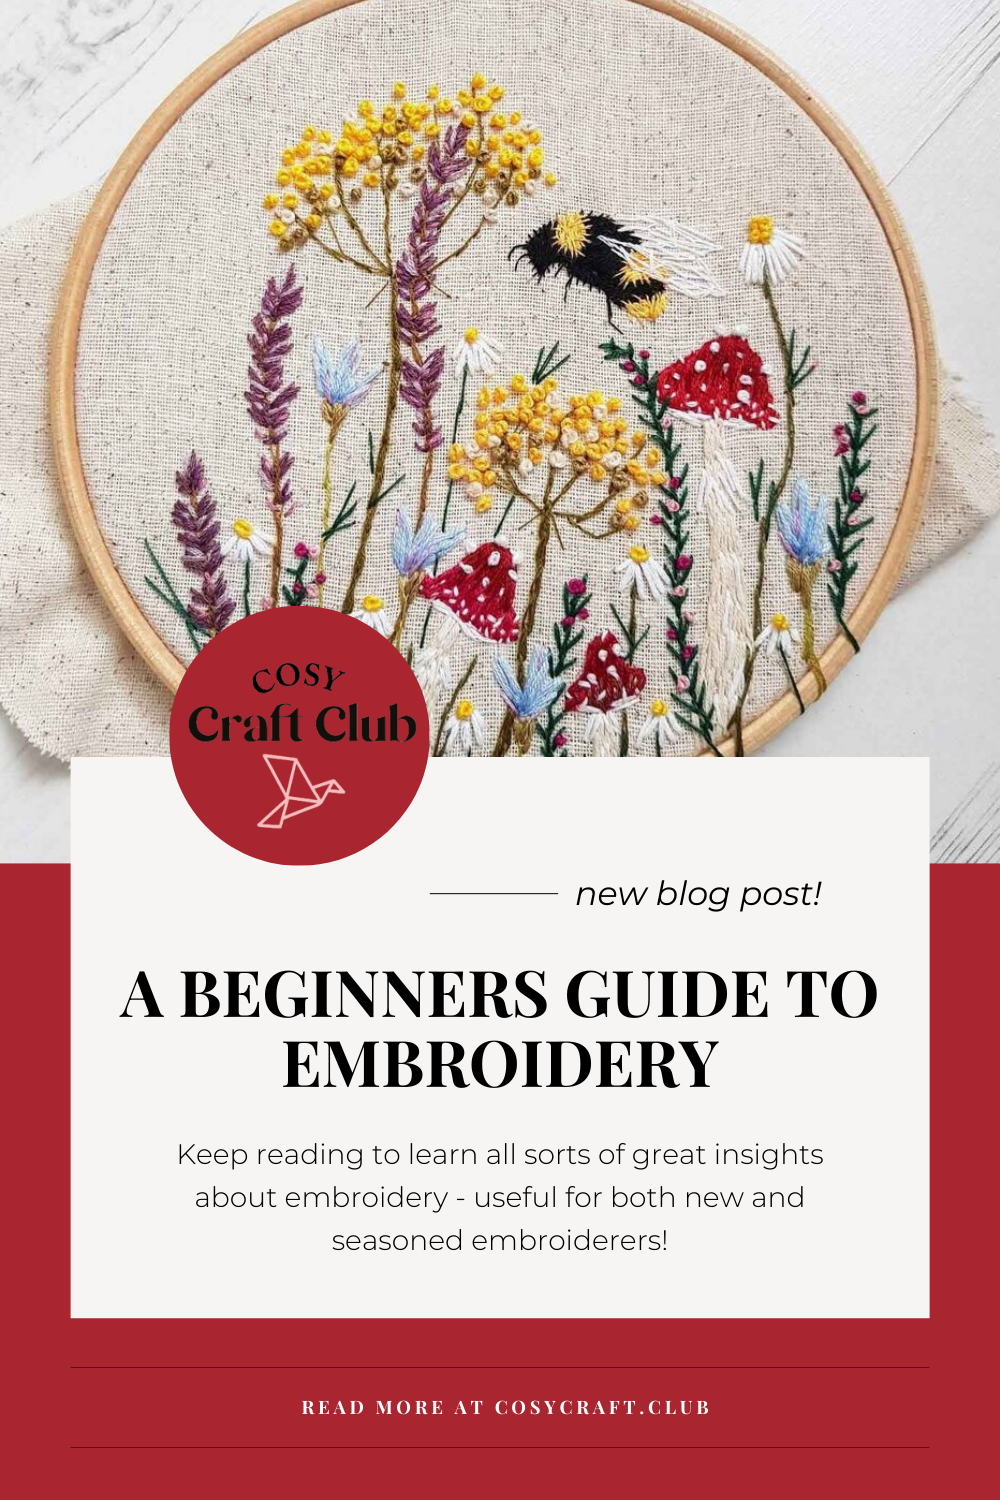
Every month at Cosy Craft Club we focus on a different craft, and I contact a number of UK crafters to ask what their top tips for beginners would be. The response from embroiderers were so overwhelming and complete that I’ve turned them into a full beginner’s guide!
Keep reading to learn all sorts of great insights about embroidery - useful for both new and seasoned embroiderers!
Before you start
Don't feel overwhelmed. Many people assume that embroidery is really hard to do because the finished effect looks so detailed and intricate but it's not as hard as you think. If you break it down and take it stitch by stitch, then you realise that it's actually quite easy and just takes practice.
So don't feel overwhelmed or intimidated by the craft and never say "it's just too hard." If you are willing to practice then you will pick it up in no time.
Louise - Knowle Craft (@knowlecraft)
Photo: Lucky Stitch Club
Try everything even if you make mistakes. For me making mistakes has been the best way I have learnt embroidery. Take risks and see what you learn from it.
Amy - Lady B Embroidery (@lady_b_embroidery)
Don’t be afraid of stitching. I don’t think stitches have to be perfect and straight! Hand embroidery is meant to be just that handmade! The picture below is of my 3 year old's embroidery! If she can do it and enjoy it so can anyone!
Laura Jones - Little Green Stitches (@littlegreenstitches)

Photo: Little Green Stitches
There seems to be this lingering idea of perfectionism toward embroidery that I know my Granny and her generation used to have. It makes it really hard for those starting out as a they can feel this unnecessary pressure and expectation….which puts a lot of people off before they even try! This is why my emphasis is on having fun and embracing the imperfections. Handmade is be not meant to be perfect and never will!
Jenny
As a beginner to embroidery I think it’s important to find something that you’re interested in. For example with my own work I’m inspired by nature, and deep space. My pieces are driven by emotion and feeling which are represented in an ambiguous way within my work.
My husband was diagnosed with stage 4 cancer in 2017 and my practice helps me deal with the anxieties surrounding the situation. I donate 10% of all my sales to cancer charity Sarcoma UK.
Stacey Jones - @bystaceyjones
Don’t be afraid to experiment!!! Add paint, glitter, sequins, beads, layer your stitches, think about colour and texture - see what you can invent.
Gina & Sarah - @ozandbelle
Photo: Oz & Belle
Don’t forget there is so much more to the world of embroidery than just thread! When you’re feeling confident try to explore the wonders and of goldwork, stumpwork and ribbon embroidery. I promise you- you will not be disappointed!
Georgina - That Embroidery Girl (@thatembroiderygirl)
The most important piece of advice I’d give anyone starting embroidery is to have fun with it! Embroidery is extremely satisfying and doesn’t have to be a difficult craft to get into, by learning basic stitches you can really see such beautiful results!
Practice, practice and more practice! The best thing is, you’ll just get better and better! There are so many ways of learning embroidery too - YouTube videos, online tutorials, books, try them all!
Grace - @sunshineandgracehandcrafts
Embroidery materials & tools
If you're looking to begin and don't know where to start, you can find calico fabric in local craft stores and online. It's a neutral coloured cotton fabric that is cheap and perfect for embroidery and having a practice.
Louise - Lou Stitches (@loustitches)

Photo: Lou Stitches
Start your embroidery journey using natural fabrics with an open weave. Light Cottons, linens. Muslin- even hessian make great bases and you’ll have no problem getting a needle and floss through.
Georgina - That Embroidery Girl (@thatembroiderygirl)
Don't be limited by the material you chose to sew on. Many stick with basic cotton as they just don't consider other materials, but I've found tweed and felt sheets to be most effective for landscapes as they support more stress and thicker threads better without them distorting. The picture below uses thick wool on felt.
Victoria - Chromato Mania (@chromato_mania)
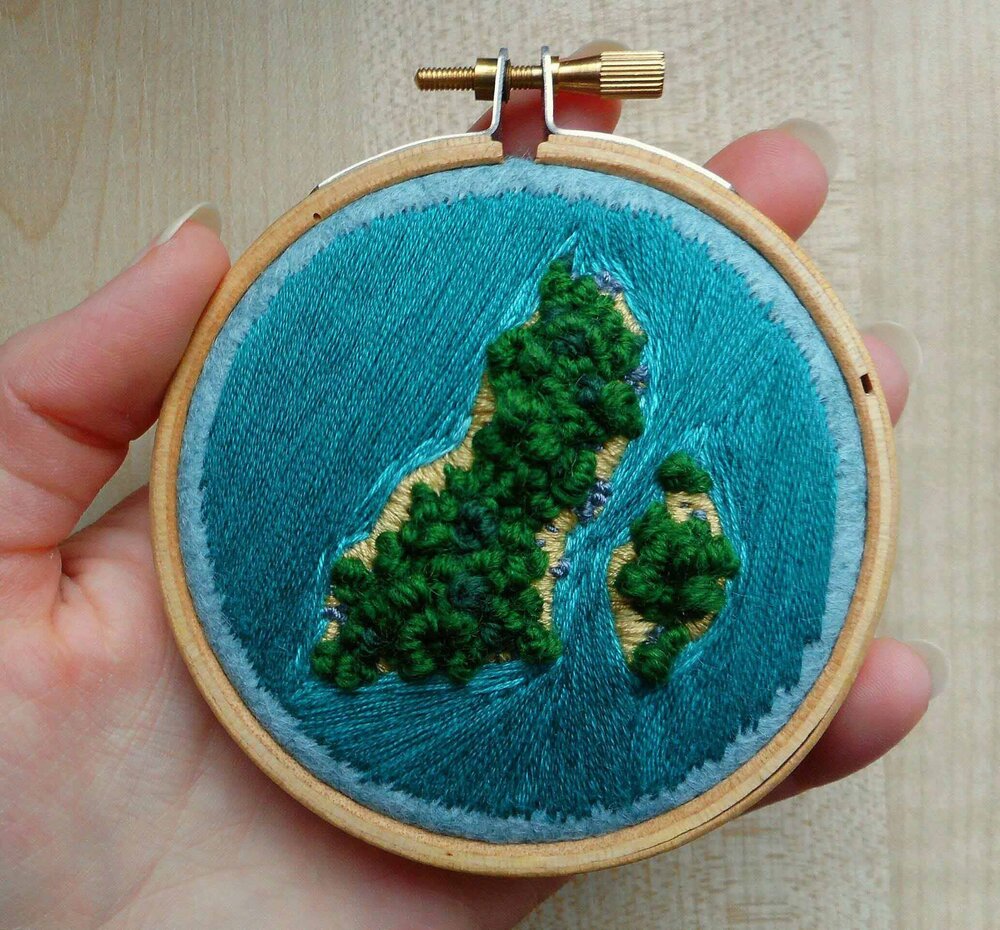
Photo: Chromato Mania
I like to work with organza a lot, and when embroidering on organza you have to plan your stitches so you can't see the workings on the front. I melt the edges of my organza with a soldering iron to stop the edges from fraying.
Emma
My suggestion for people starting out in embroidery is to embroider on any textile you can get your hands on. On tote bags and rucksacks, cotton shirts and denim jackets, caps and beanie hats, it’ll teach you things about fabric tension you can’t learn off even the best YouTube tutorials. It will also teach you the most effective use of your embroidery floss as you wouldn’t want to back to be bulky or snag.
Kirsty - Lucky Stitch Club
Photo: Lucky Stitch Club
The right needle can make all the difference! Research the best needle for the type of work you wish to undertake.
Georgina - That Embroidery Girl (@thatembroiderygirl)
Invest in good quality materials, from needles, fabric and most importantly embroidery thread! It’s worth it!
Grace - @sunshineandgracehandcrafts
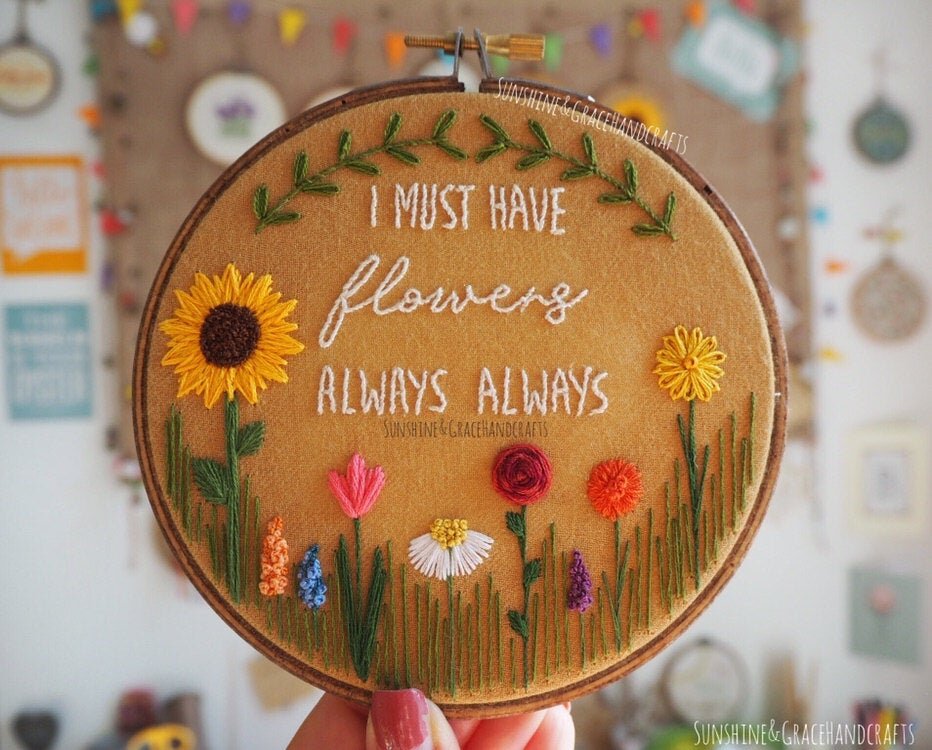
Photo: Sunshine & Grace Handcrafts
I prefer wooden embroidery hoops with bolts as I have tiny screwdriver I use to tighten them, it saves my fingers from tearing up and closes any gaps in the hoop. However in this environmentally conscious era bamboo hoops are much more sustainable and look very cute when painted!
Kirsty - Lucky Stitch Club
A hoop stand is a life saver. It gives you the opportunity to use your both hands
Sila - Jolly Hoops (@jolly_hoops)
Getting ready to embroider
One of the most important tricks is to get your fabric tension right before you start stitching. Properly tensioned fabric helps prevent puckering and distortion of the fabric caused by stitching. I like to wrap the inner embroidery hoop in cotton tape (or cotton scrap material cut into strips) to prevent the fabric from working loose. The extra cushioning provided by wrapping allows you to tighten the outer hoop more easily.
Once the inner hoop is wrapped, place your fabric over the inner hoop, lower the outer hoop over it and partially tighten the screw of the outer hoop. Pull on the fabric outside the hoop evenly until it is smooth and taut, but not distorted. Tighten the screw firmly.
Corinne - @corinnesleight
My tip for beginners is something that once I discovered, made bringing my ideas into reality so much easier! And the tip is to get yourself a pilot frixion pen. Draw out your design onto your chosen fabric, stitch it then remove pen marks as if by magic with a hairdryer or an iron. The blue lines you can see in the picture below are the frixion pen.
Rachel Edwards - @rachel_faye_edwards_art
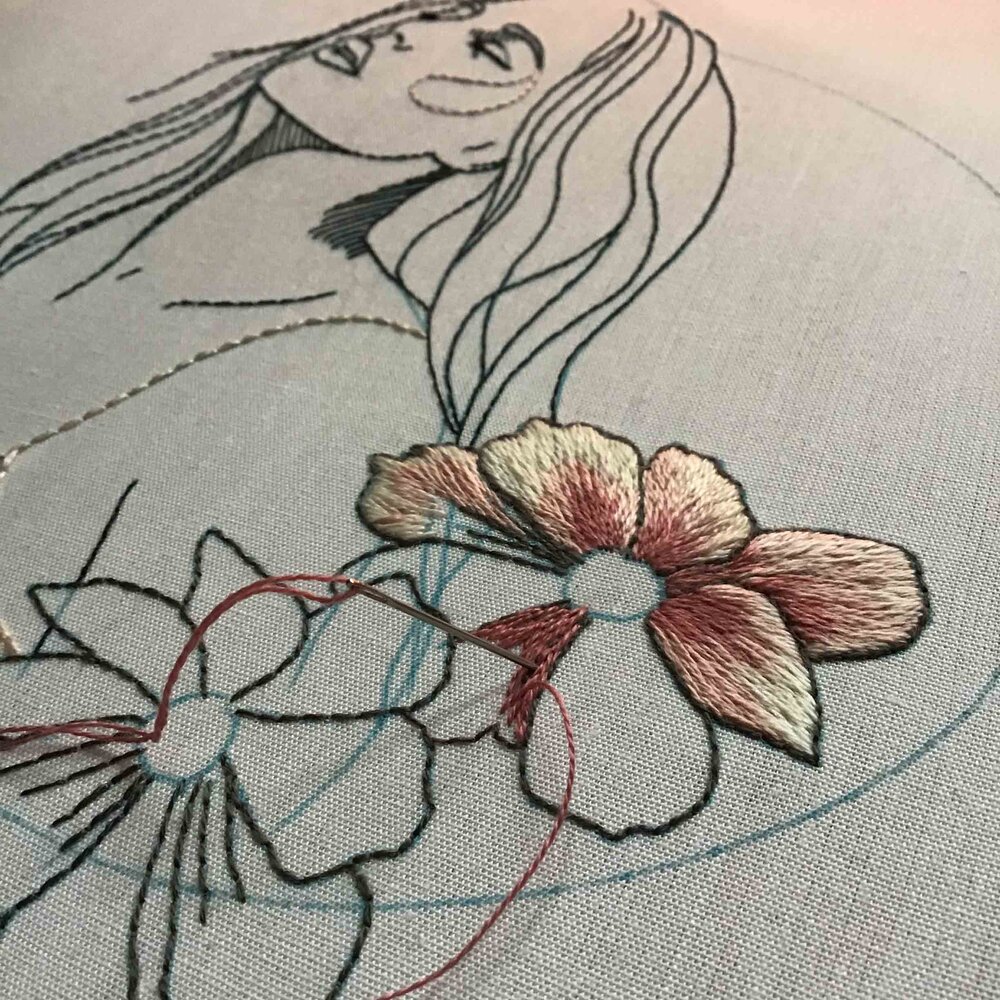
Photo: Rachel Faye Edwards Art
A light board is a great way to transfer designs onto fabric, but a bright window works too! I like to hoop my fabric first, then tape the design onto the back and transfer it with my Frixion pen. This prevents the design from getting stretched or warped if I were to have drawn it before hooping my fabric.
Brenna - Thready Pulse Embroidery (@threadypulse)
Think about your patience level when designing. For example- working with 1-2 embroidery floss threads will produce a beautiful delicate look but will take much longer to grow than using all 6 strands of your floss.
Georgina - That Embroidery Girl (@thatembroiderygirl)
Stitching your embroidery
Just do it! It's fun to learn new stitches but you don't need expert knowledge to begin and have fun. For example, I use 3 main stitches in my work: back stitch, French knots and split stitch. You can do anything you like, it doesn't have to be conventional; if I'm not using one of those I just fill spaces with random stitches.
Louise - @loustitches
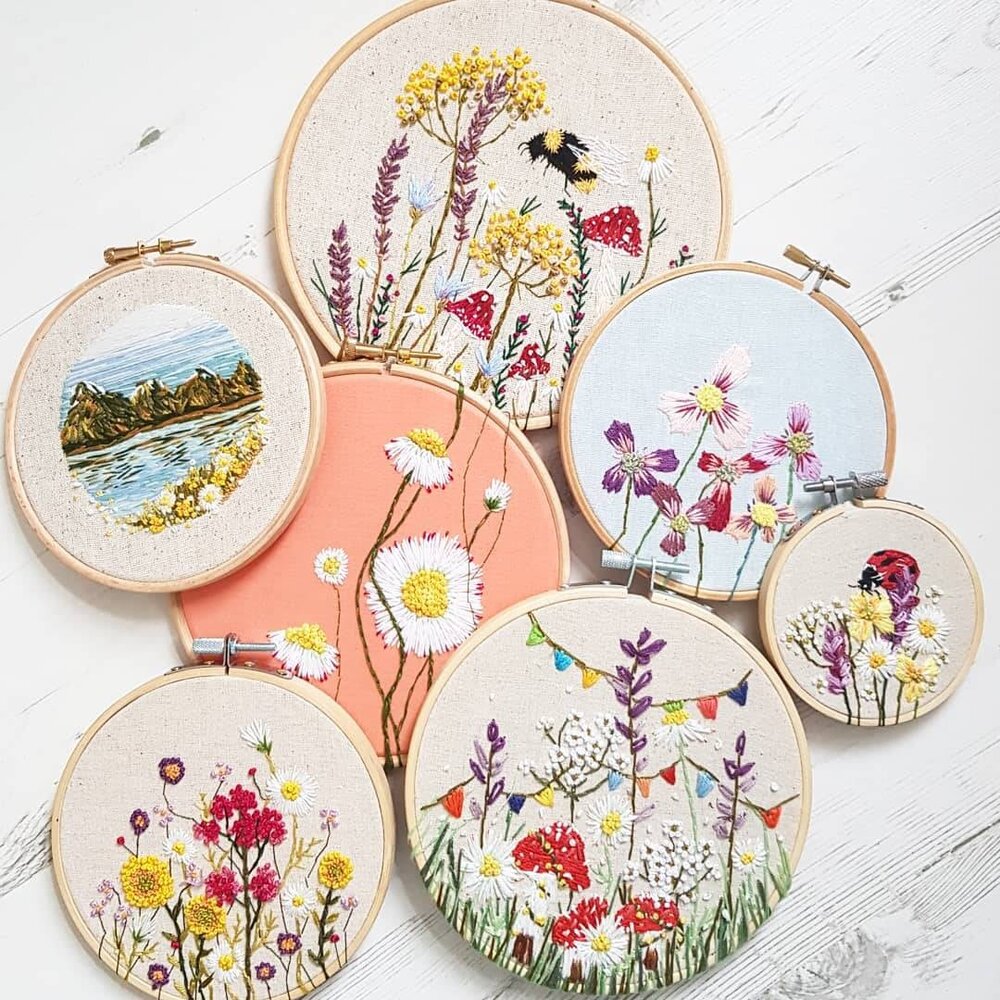
Photo: Lou Stitches
Always cut the end off your thread when threading a needle!
Amy - Lady B Embroidery (@lady_b_embroidery)
It’s best to cut your thread about an arm's length to prevent tangles and knots.
Brenna - Thready Pulse Embroidery (@threadypulse)
To extract a single floss strand from your skein:
gently hold one end of the cut thread in your left hand
grasp one strand with your right hand
gently pull with your right hand, away from your left, making sure the grip of your left hand stays loose enough to let the single thread be pulled through but not the others. The strands will bunch up in your left hand as you do this, shown in the second photo below. Once the thread is fully pulled through it will spring out of this coil and won’t tangle.
Lottie - Purple Rose Embroidery (@purple_rose_embroidery)
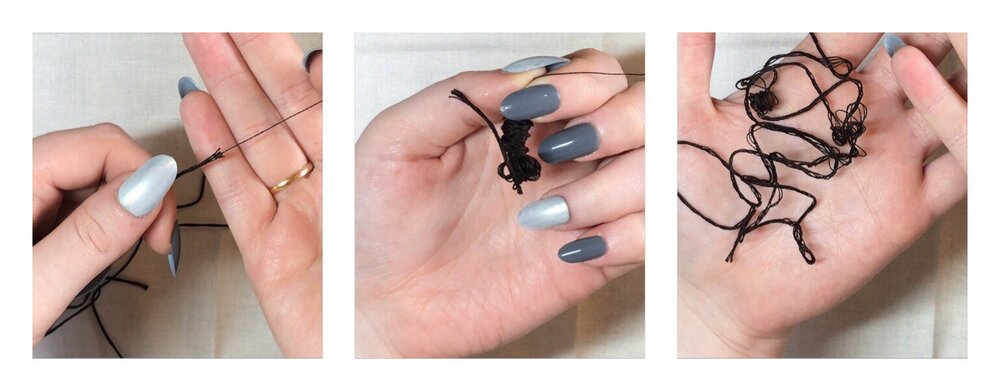
Photo: Purple Rose Embroidery
When satin stitching, think about the direction of your stitches and how best to fill a shape. When I’m stitching larger shapes I like to start in the middle and work out towards the edge of the shape. This helps with tension and can prevent puckering.
Corinne - @corinnesleight
Mix different stitch types so create realistic textures! Many people use basically the same type of stitch (usually backstitch) for everything, whether it's flowers or landscapes, and this just isn't as effective as combining a larger range, such as seed stitch, French knots, satin and split! I think this orange piece is a good example, as I use seed, ball, split and satin with it to create texture and depth.
Victoria - Chromato Mania (@chromato_mania)
1. Draw your design first, it helps to get your mind familiar with your subject.
2. I use pencil to draw my design on the fabric, this is where it helps if I’ve already drawn it in my sketch book, there’s no room for error. Sometimes I stitch a basic outline if the fabric is dark.
3. I stitch the darkest areas first and work up to the lightest.
4. I regularly place my embroidery a few feet away and check it looks okay, it can be difficult to see errors when it’s right beneath my eyes.
5. Keep the back tidy, it will help prevent tangles.
Backstitch is a good staple stitch - any design could be mastered with this.
Gina & Sarah - @ozandbelle
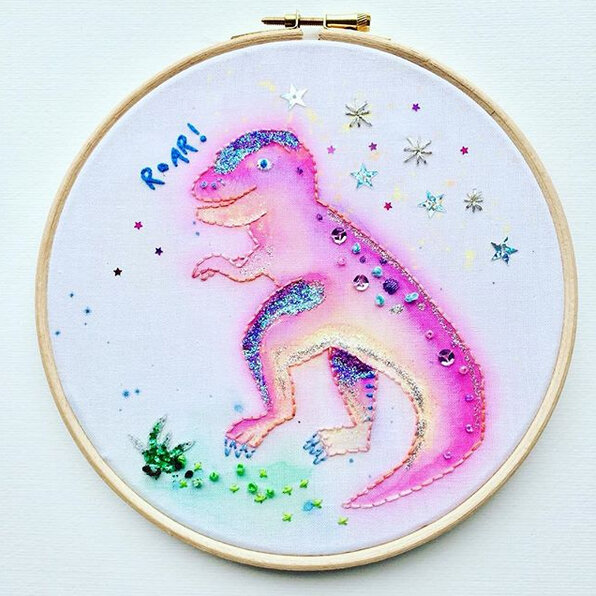
Photo: Oz & Belle
A trick of the trade to smooth uneven areas of stitching is to lay your work face down on your thigh and gently rub or press each row with the flat of your thumbnail. Your stitches should flatten and look more even.
Corinne - @corinnesleight
Don’t be afraid to try new stitches, colours and designs that push you outside of your comfort zone. Even if you decide they don’t work for a specific hoop, you will learn and grow with each project and your stitching will become better and better each time!
Brenna - Thready Pulse Embroidery (@threadypulse)
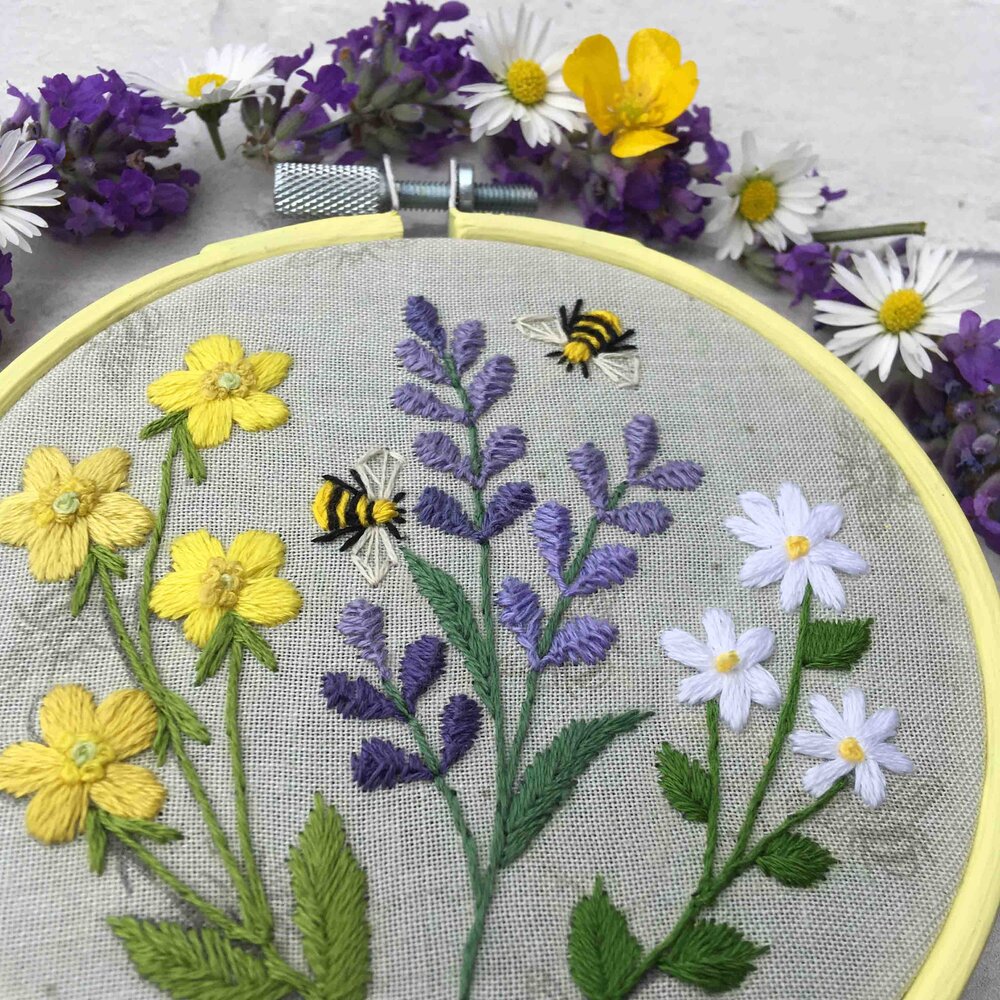
Photo: Little Green Stitches
Get familiar with as many hand embroidery stitches as possible. Satin stitch is great but if you’re feeling brave research Brazilian dimensional embroidery techniques as well as the various possibilities chain stitch can offer.
Georgina - That Embroidery Girl (@thatembroiderygirl)
What a wealth of embroidery information! I hope you enjoyed reading all our tips, and have learned something along the way - I know I have!
Thank you so much to all our lovely embroiderers for sharing their tips. Please click on the links to check out more of their work!
Rachel x
Cosy Craft Club is a craft box subscription - receive a beautiful kit to try a different craft every month! All our kits are suitable for beginners and contain everything you need to sit down and get crafting. Our kits are also available to purchase individually (subject to availability).