
Introducing our enamelling kit!

Enamelling is something that is completely new to most crafters. It consists of melting a layer of enamelling powder onto a surface, such as metal, to create a coloured layer. With our enamelling kit from Alice and Stars, you can try this beautiful craft for yourself at home!
Alice created this kit exclusively for Cosy Craft Club’s January subscription box (which is now available without a subscription here). I had a lovely chat with her on an Instagram Live recently, and it was so interesting to find out about her jewellery making in general, as well as getting a few tips on working with the enamelling kit. You can watch our chat here.
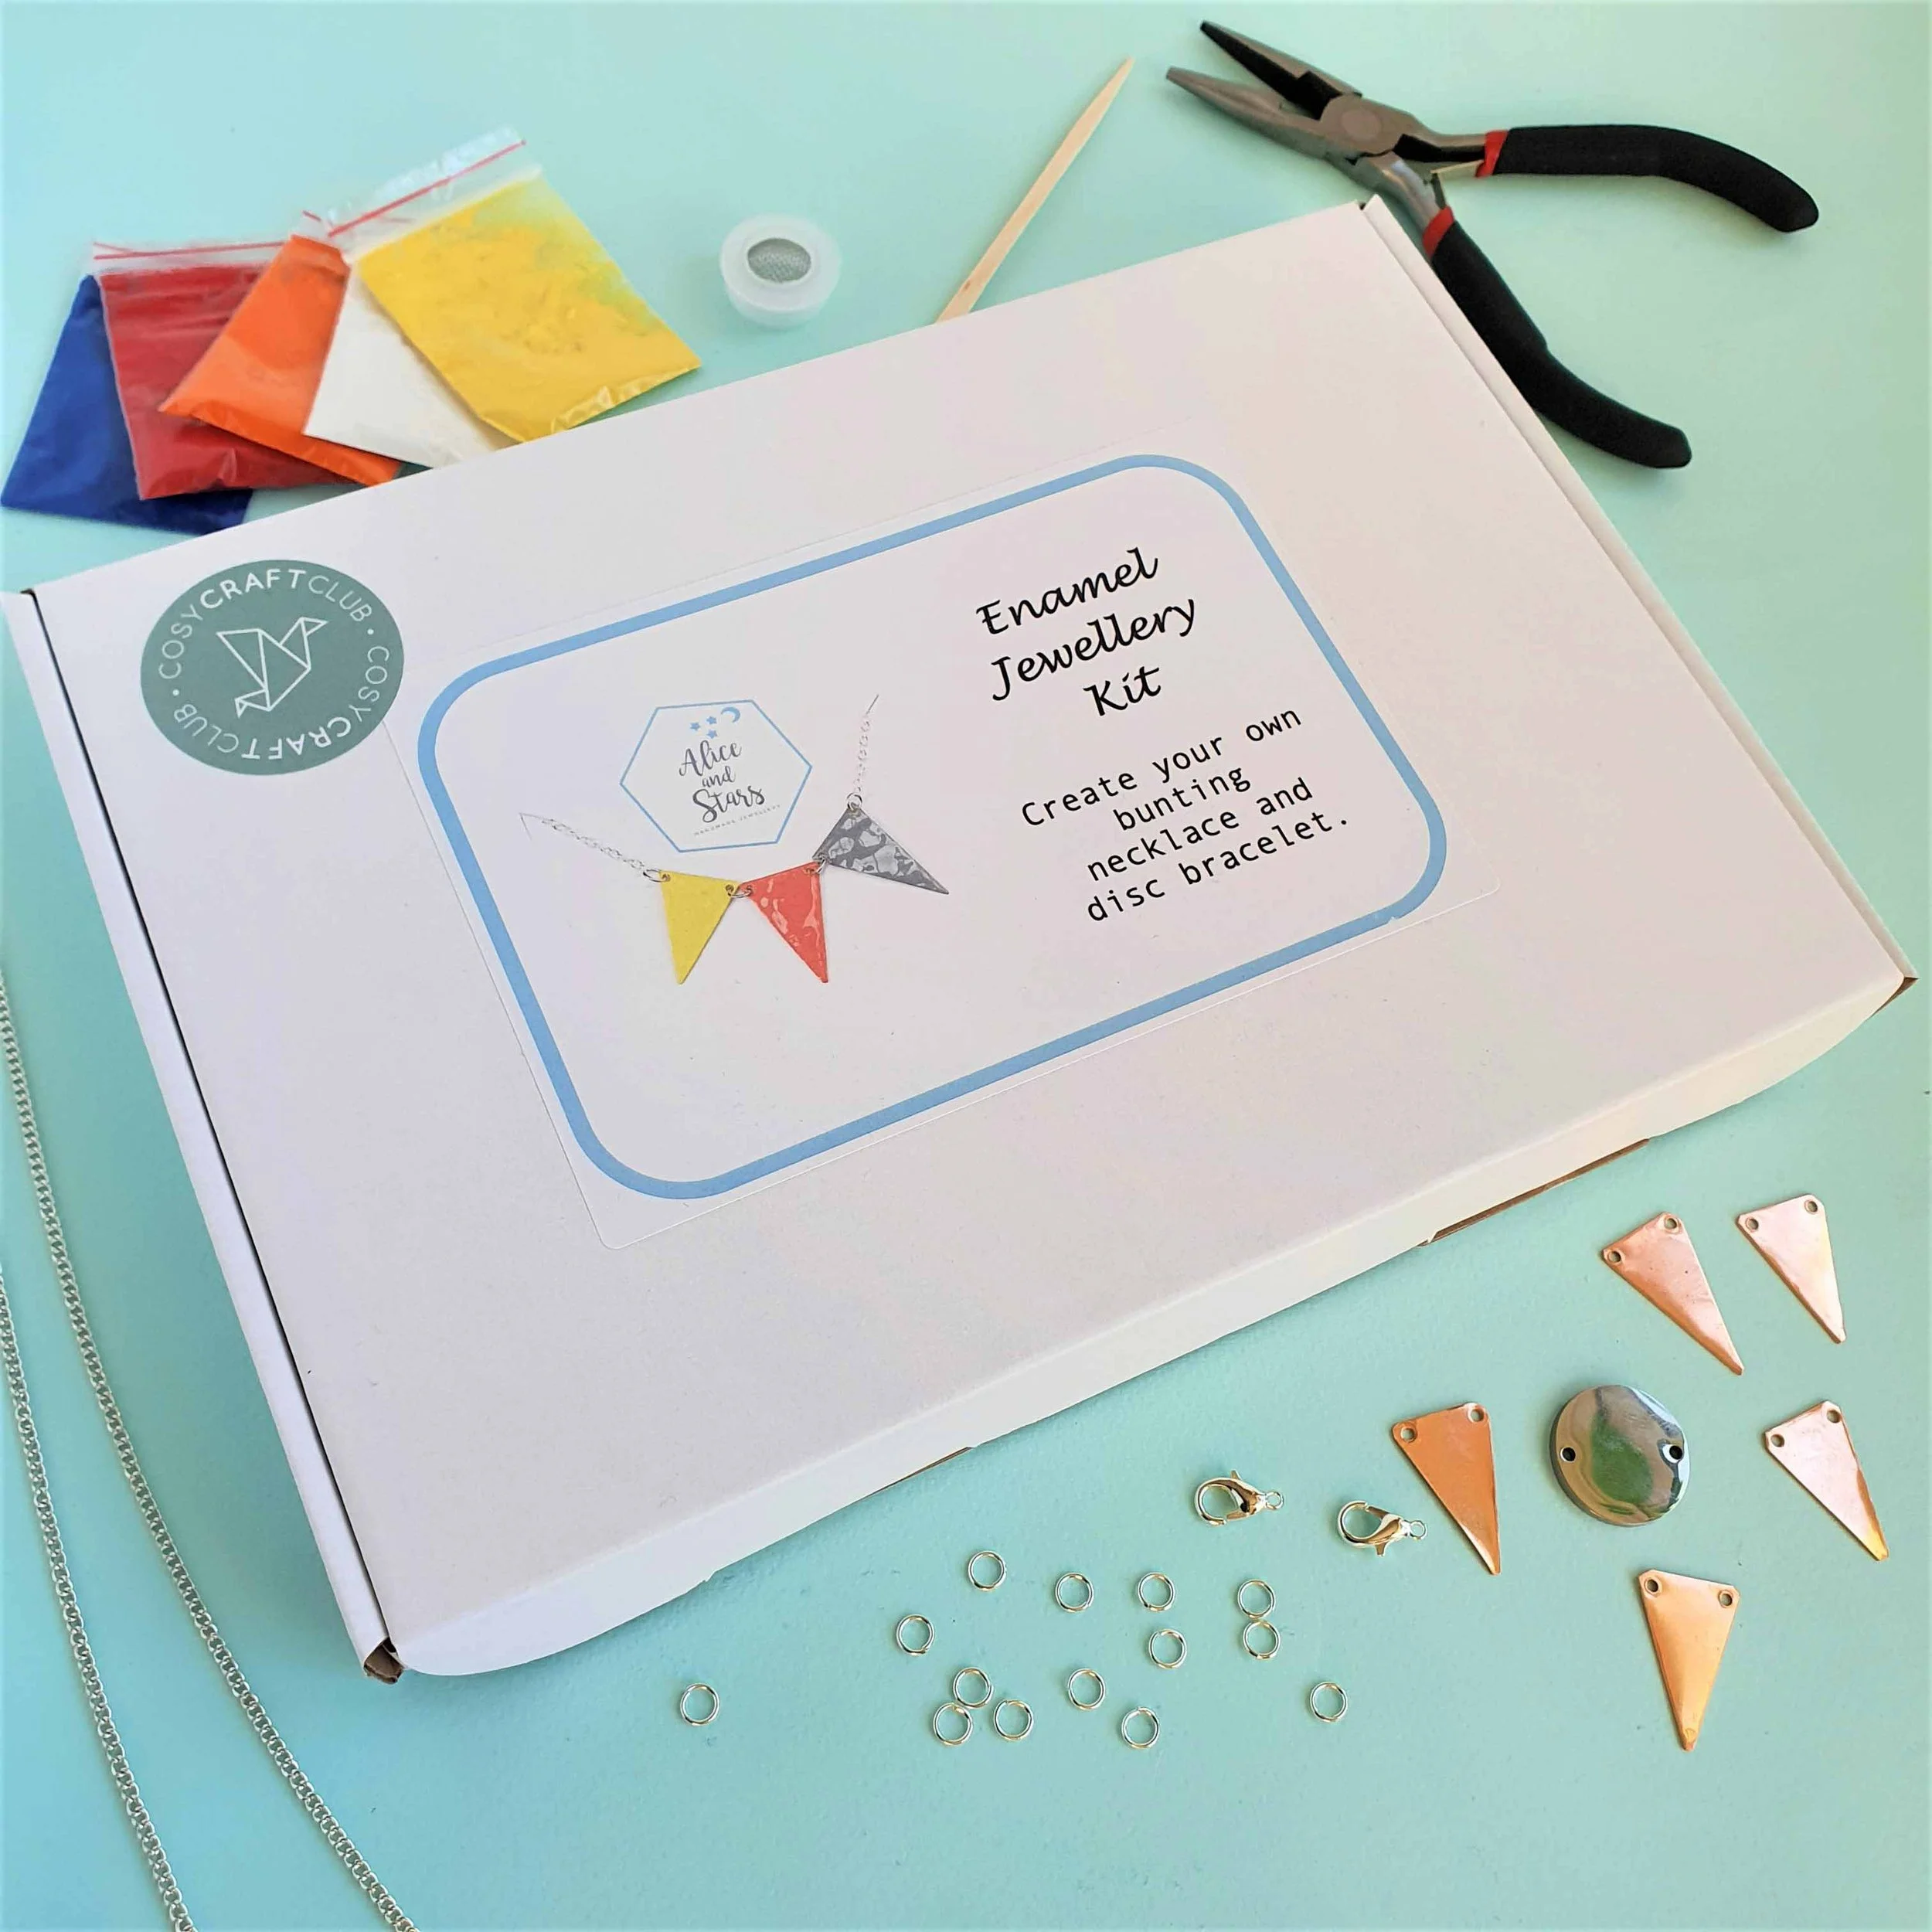
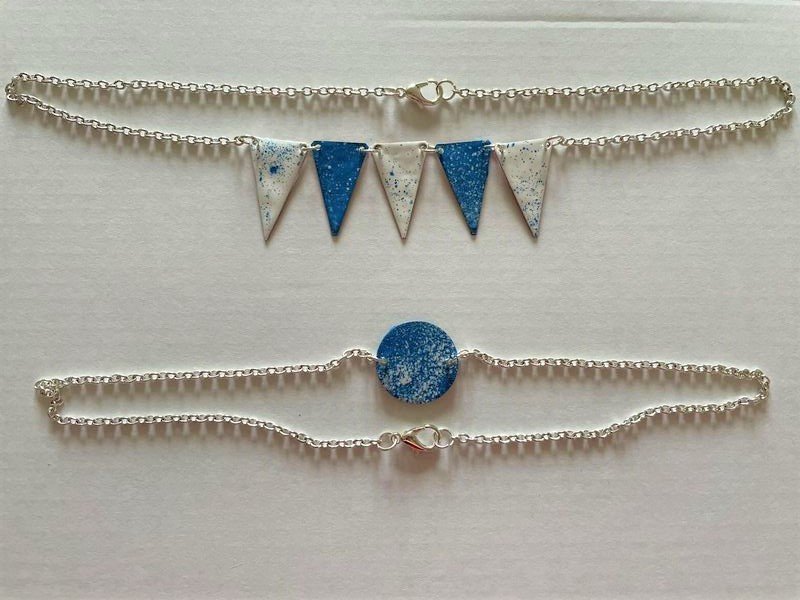
Our kit uses cold enamelling powders, so you can melt them at home in your kitchen oven. The kit comes with 5 colours of powder (selected at random) and everything you need to make a flag-style necklace and a round disc bracelet. It even comes with the components and pliers to make your enamelled pieces into jewellery, so it’s really a jewellery making kit as well!
One of the things that surprised me about this kit is how much scope for creativity there is. You can make each of your pieces a plain colour each, which looks lovely as it is, but you can also create patterns and designs. I chose to create a spotty design by making a stencil with punched holes in, and I learned so much along the way. Here are a few of my tips:
I would really recommend that you start by playing around with the enamelling powders on foil first. It gives you a sense of how much powder you need to create a solid layer, but also you can play around with different techniques and effects. There’s a really generous amount of enamelling powder in each kit, so there’s plenty to play with.
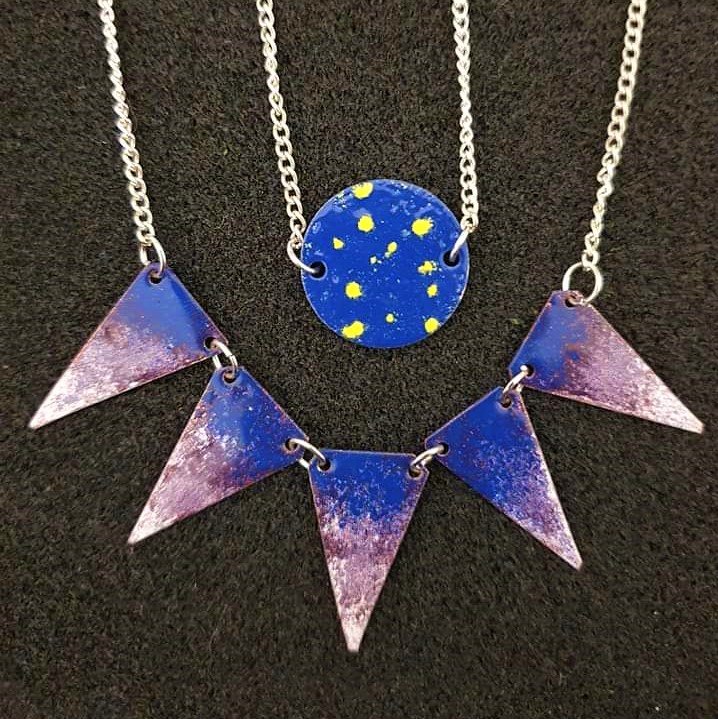
You can mix the powders to create different colours! I mixed the blue and red powders to create my purple flag. I found that some colours mixed better than others so it’s a good idea to experiment with this.
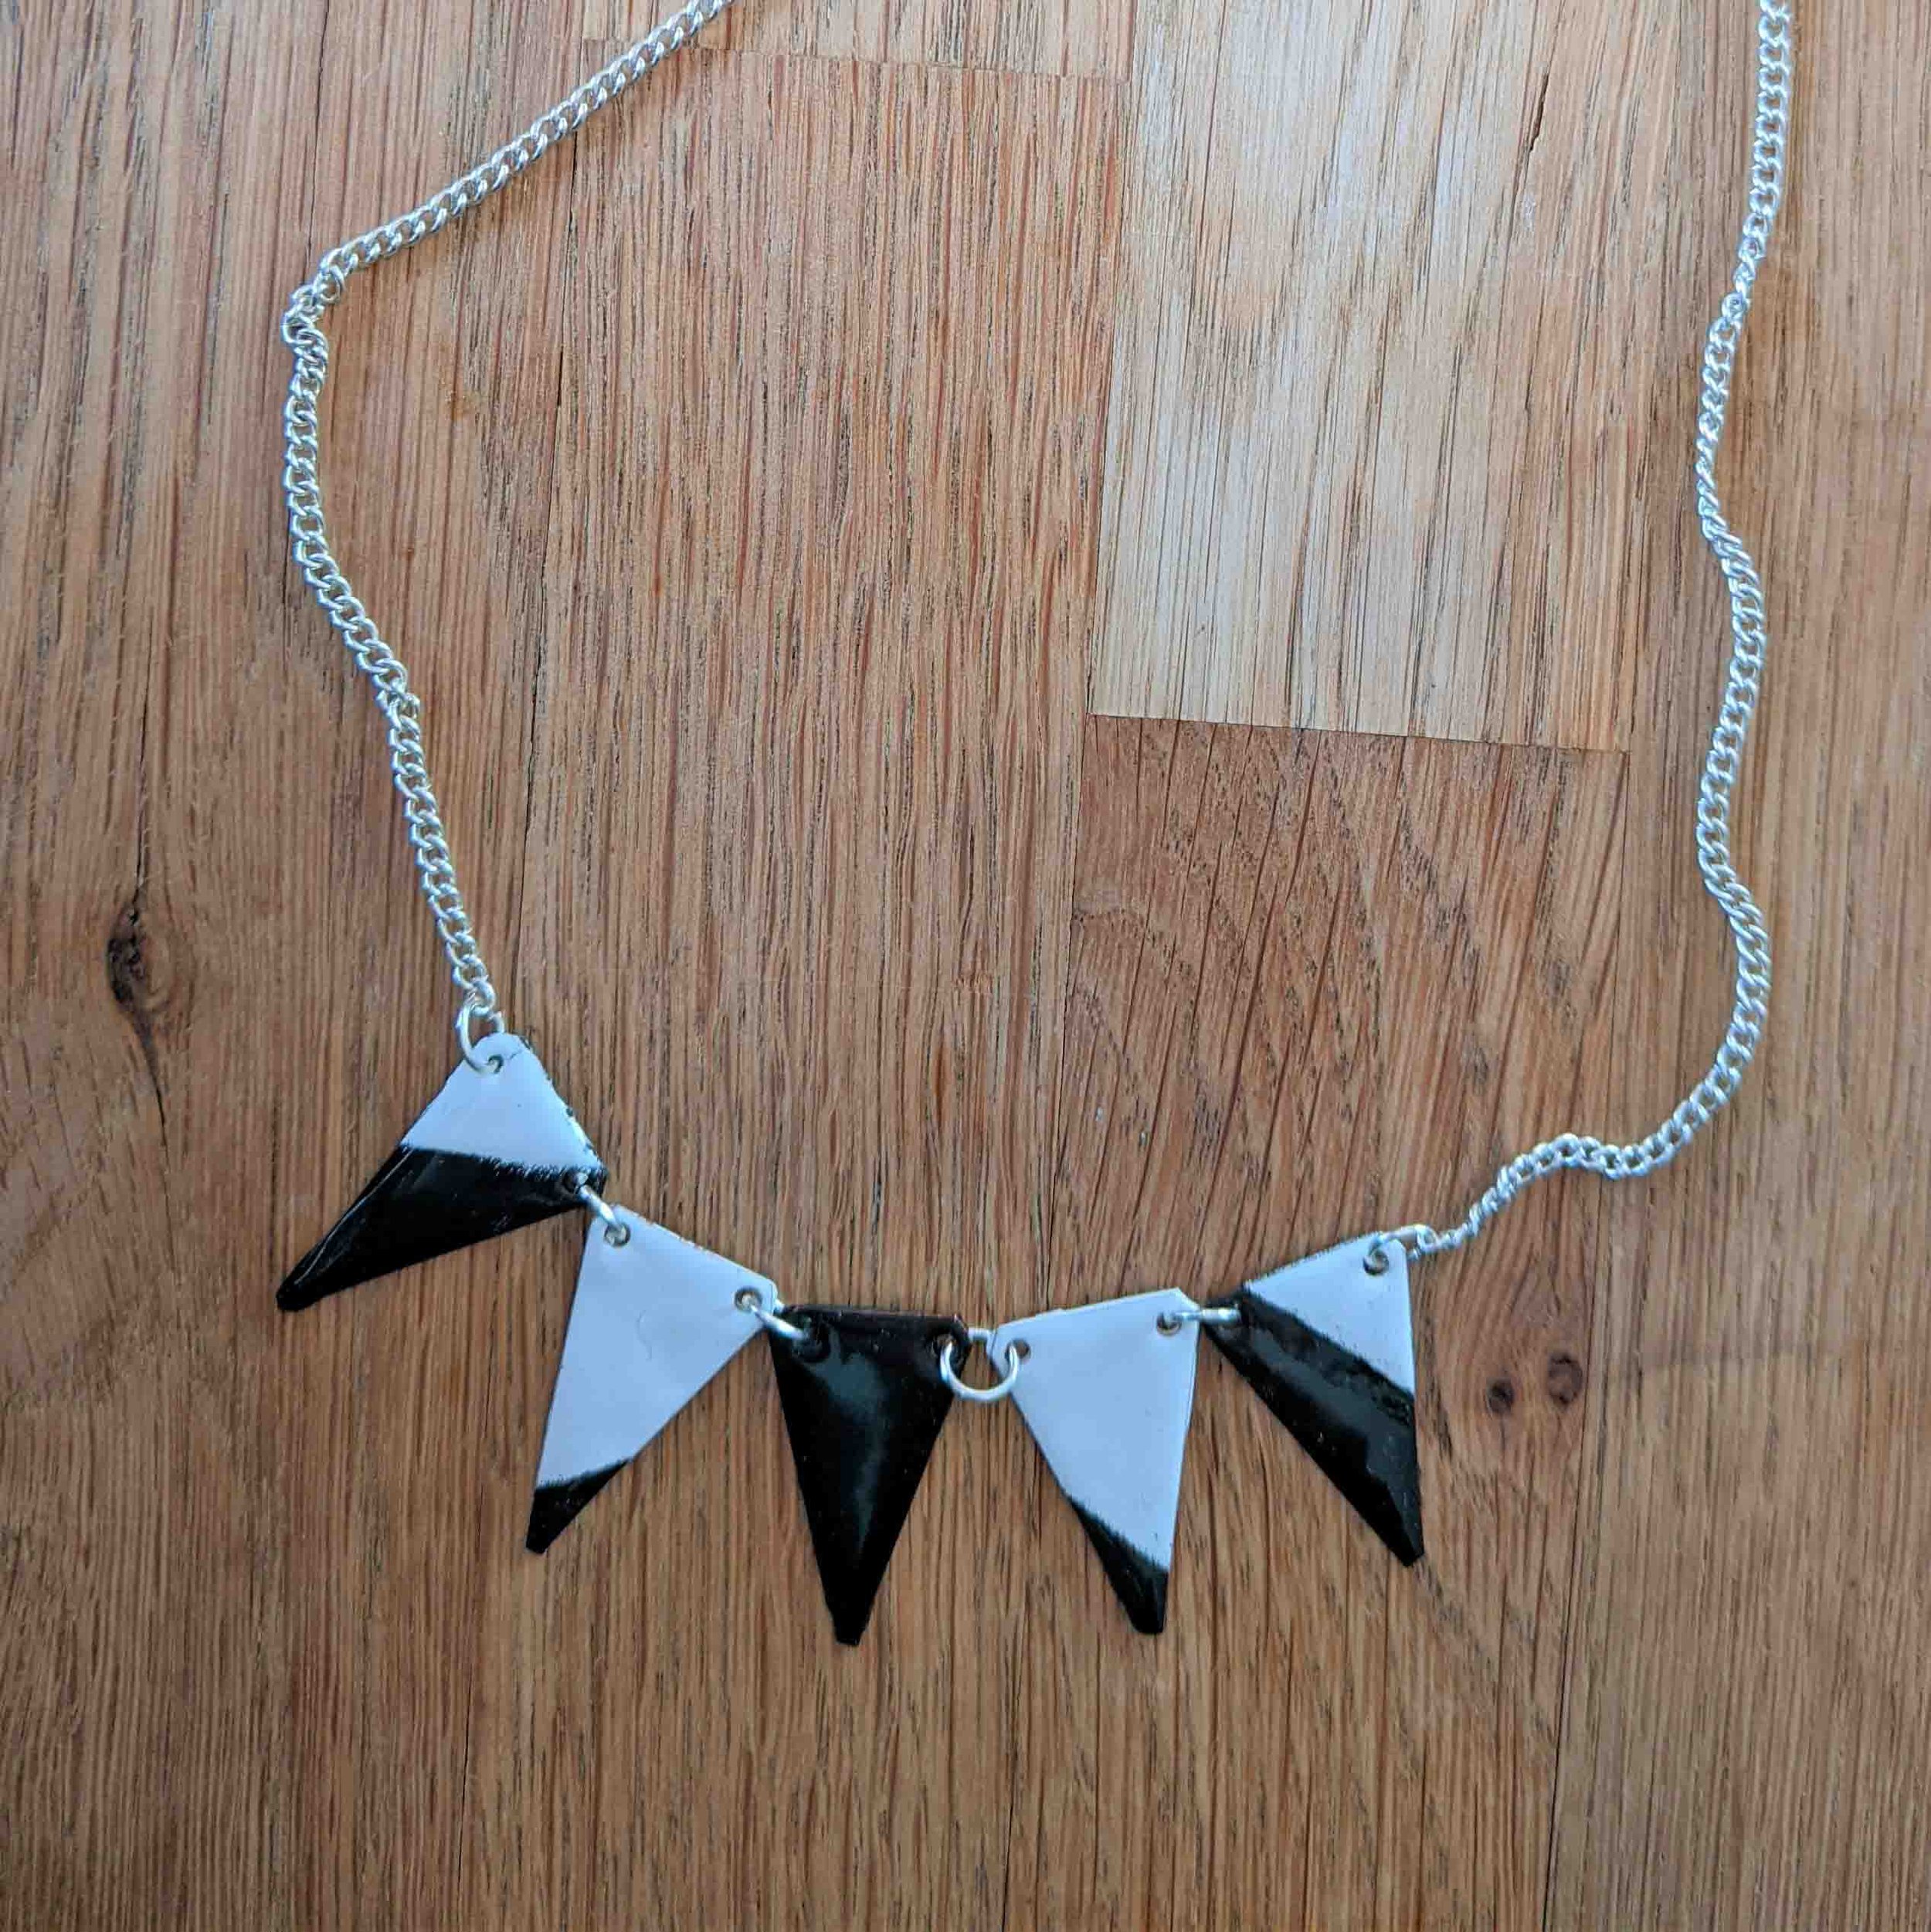
If you’re doing a two-colour design, it’s a good idea to create a base layer of colour and then bake it before doing the second colour on top. It just means that you won’t disturb the base colour when applying your design on top.

You can create your own stencils to make patterns, or use the edge of a piece of paper to create a straight line. Simply place your stencil over your metal piece and sift the powder on top. Be very careful not to knock the powder when lifting up your stencil!
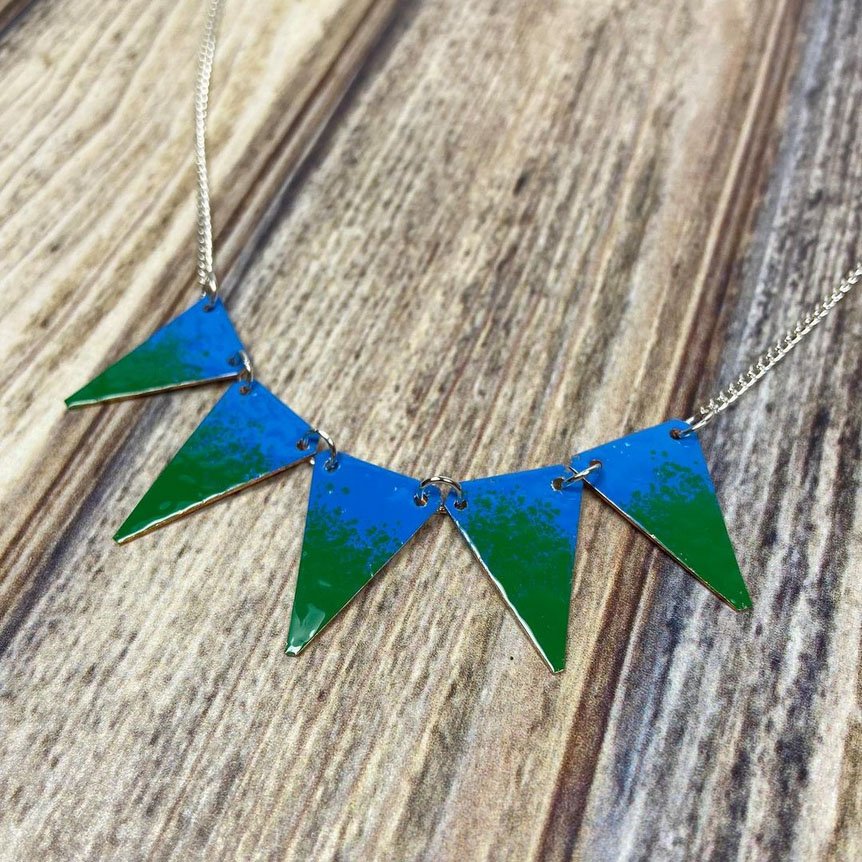
Alternatively, you can create a soft ombre-style edge without using a stencil. Just sift the powder gently in a straight line. This gives a really pretty effect.
Finally, if you have a go and you dislike your design, all is not lost! Simply cover it with a new layer of enamelling powder and start again!
Once you’ve finished making your necklace and bracelet, there should still be plenty of powder left over. Have a think about what else you can enamel! As long as it can go in the oven at 130degC, you can probably enamel it!
I have been blown away by the creativity of Cosy Craft Club subscribers with this kit. Take a look at a few of their designs below. I just love how they are all so different!

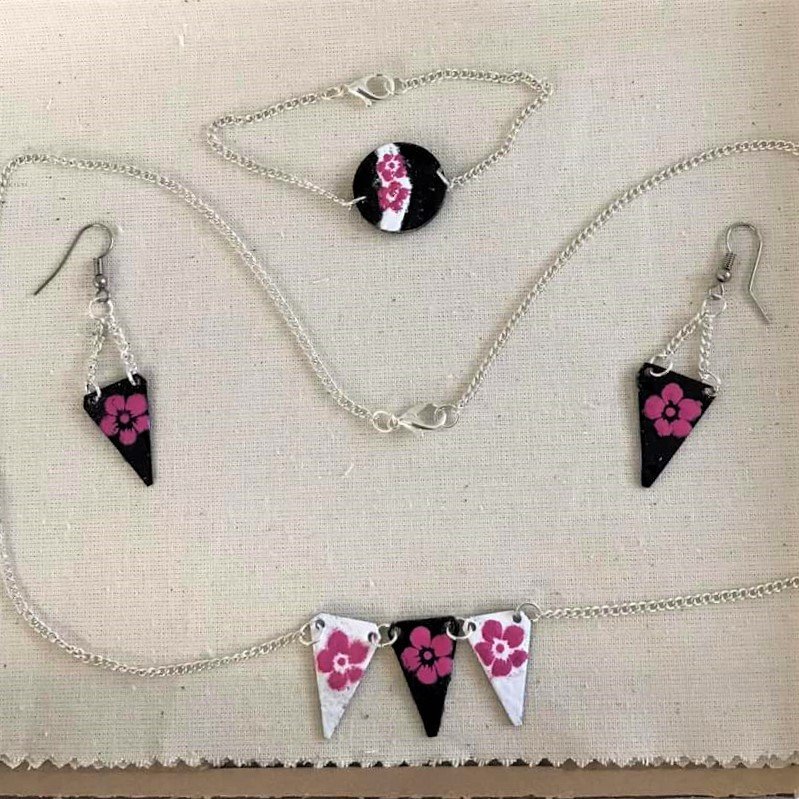
If you’d like to have a go at enamelling yourself, please click here to buy this kit. And don’t forget to let me know how you get on with it!
Happy crafting,
Rachel
