Introducing our felt Christmas decorations kit

Welcome to the Cosy Craft Club's felt craft month! We really want to encourage you to have a go at felt craft, and we'll be sharing the key things you need to know to get started. You can find all our felty posts in one place here.
Today we're taking a look at our felt craft kit from The Make Arcade. This kit makes not one but 12 Christmas decorations! They are super fun and funky too, and would look great hung on your tree or strung together as a garland.
The kit comes in this bright, colourful box, and just makes you want to open it up and see all the lovely supplies inside!

Photo: The Make Arcade
And this is what do you do see when you open it up! The box really is stuffed full :)
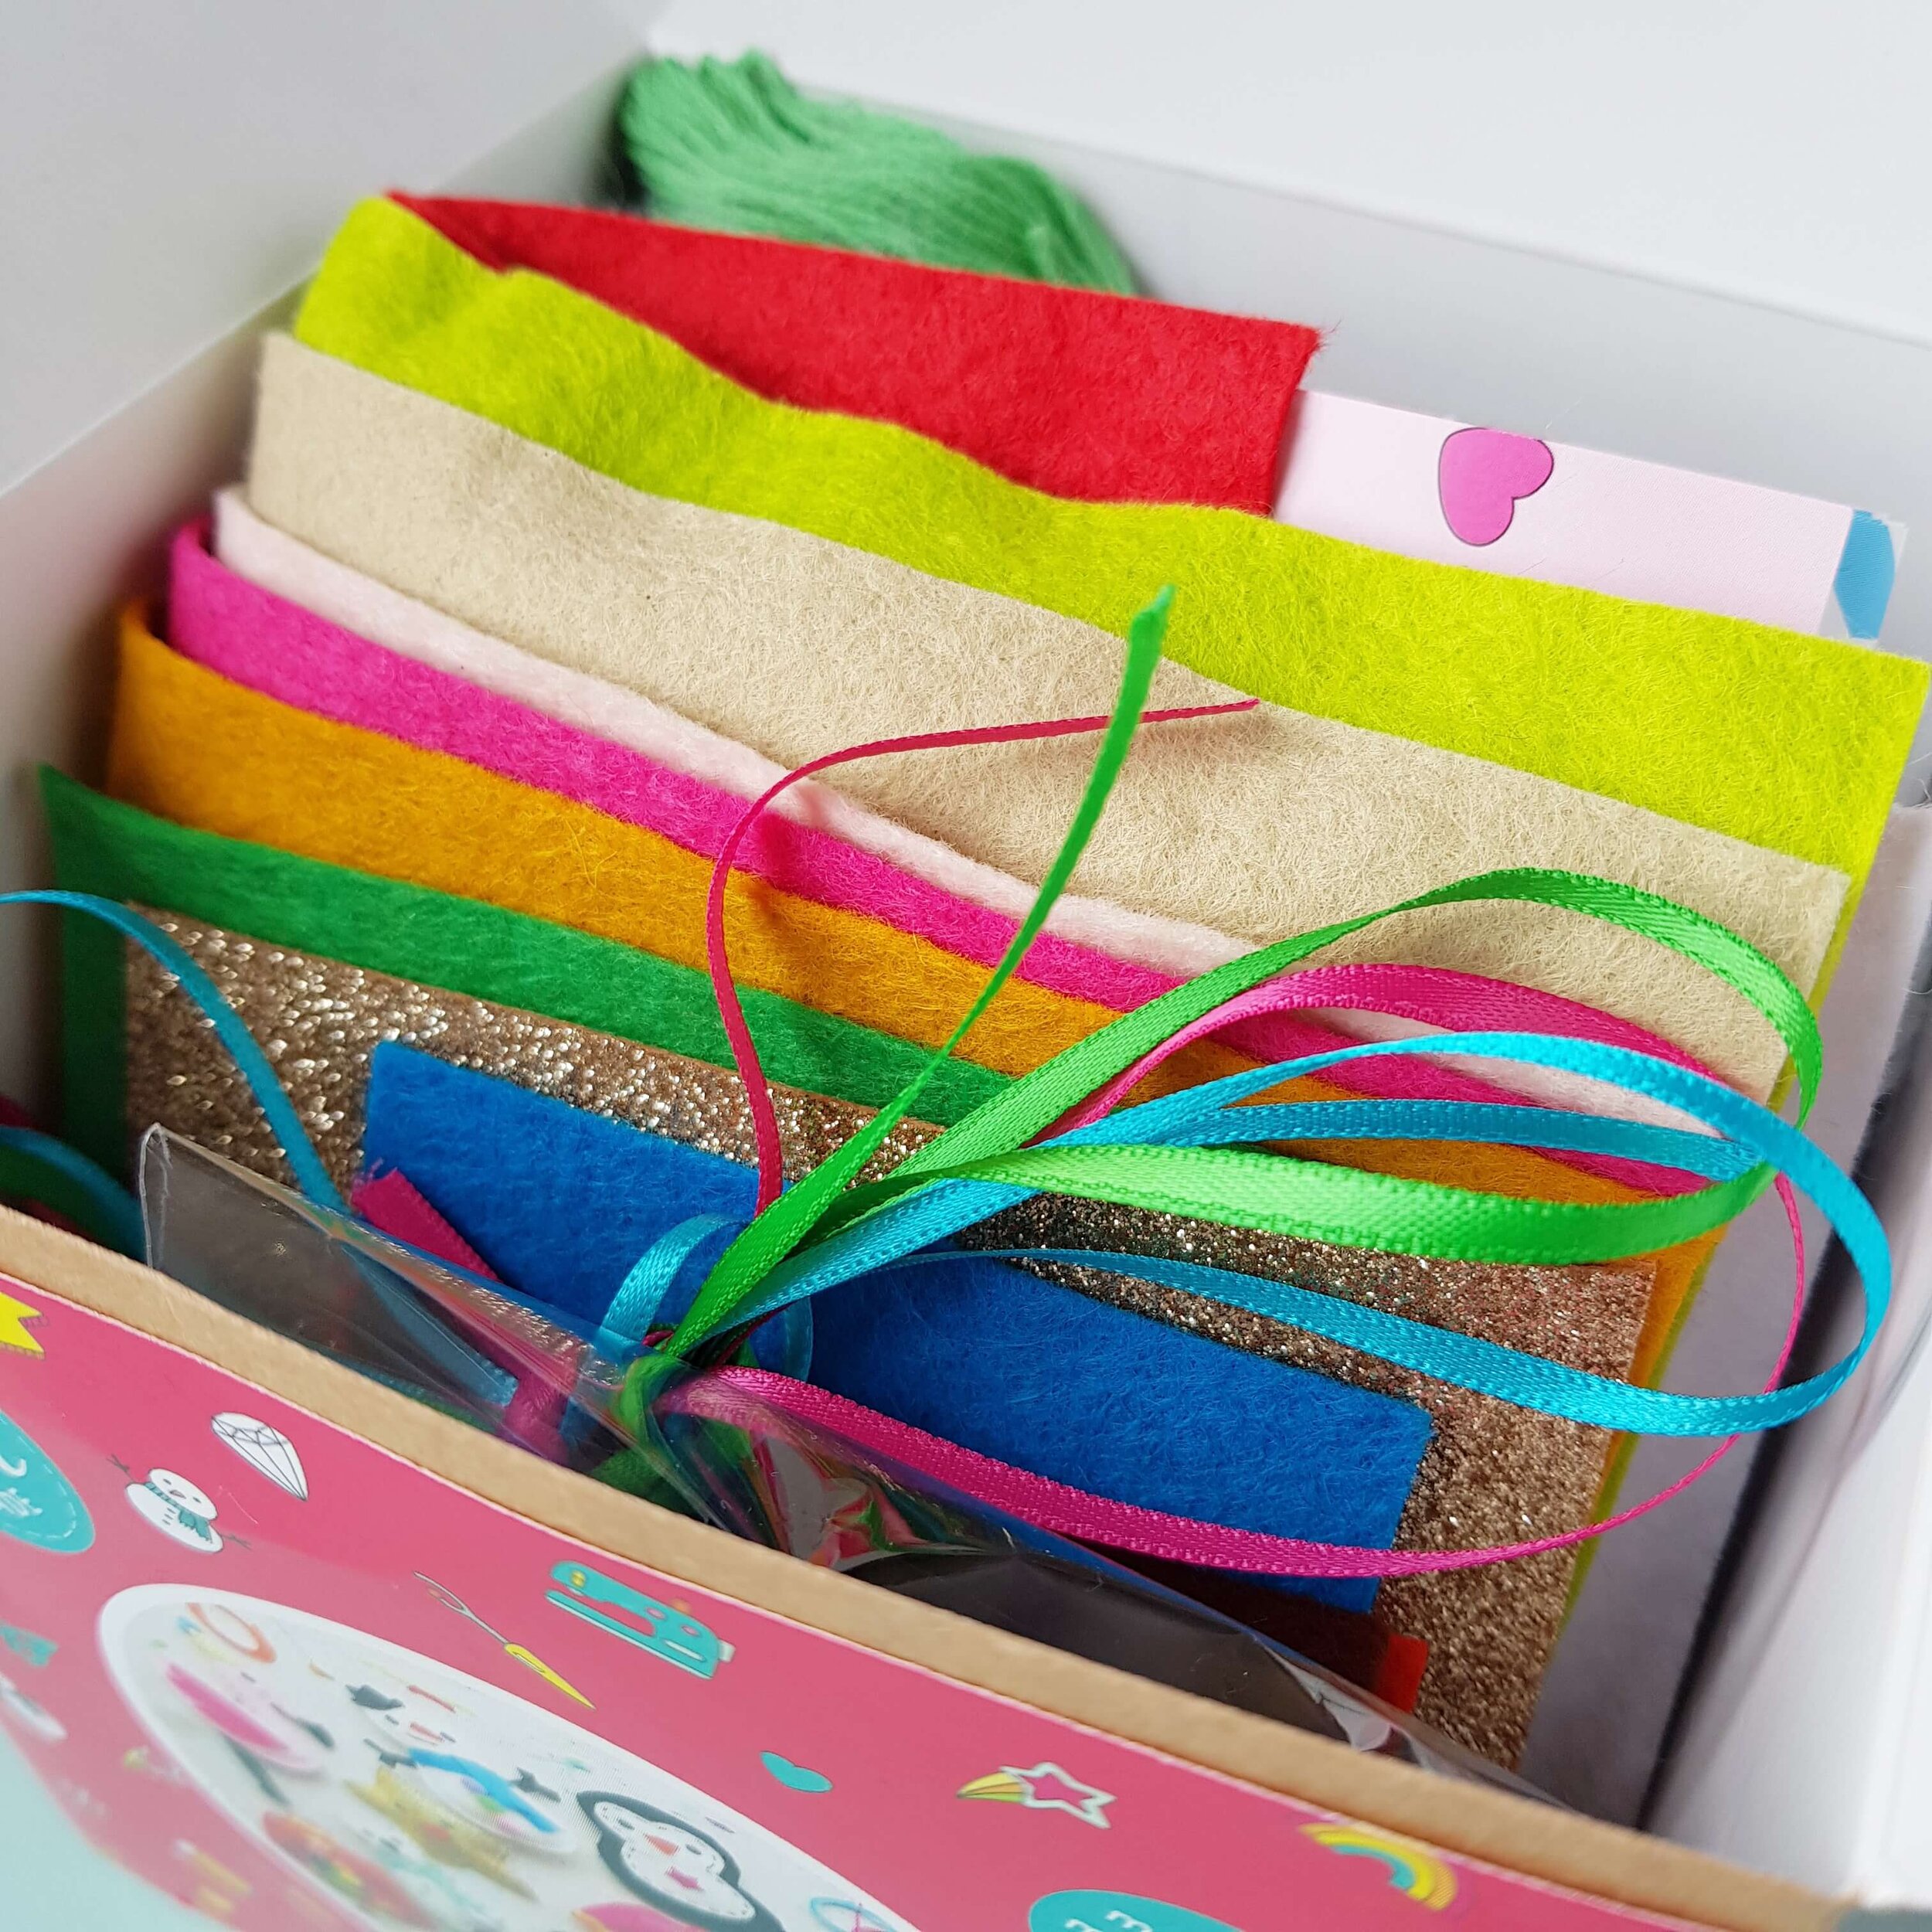
Taking the contents out the box (below), you can see exactly what you’re getting with this kit. There are lots of different colours of felt (including 2 sparkly ones!), embroidery threads, ribbons, pompoms, brads, buttons and a big cloud of stuffing! Plus, of course, 12 sets of instructions to make all the different designs.

When it came down to it, I was more apprehensive about starting this kit than I expected. With the embroidery kit (which I really loved), the fabric was printed so you knew exactly where to stitch, but with these ornaments it is entirely left up to you to cut and stitch correctly. So anyway, I put my big girl pants on, picked the easiest looking design (the star) and had a go!

As you can see, the star came together really well, and I did a couple more of the designs too. The instructions were really clear and easy to follow.
Having completed 3 decorations, here are the things that I learned along the way:
Use your sharpest scissors to cut the felt - it really helps to cut it accurately
When attaching a ribbon decoration to the front (such as on the cactus below), cut it longer than you need, sew it on and then trim it (I felt that the ricrac ended up being a bit short and wonky on the ends)
Be really careful to make your stitches all about the same size - it will make your work look really neat
When sewing up the final decoration, start stuffing it when you’re about two-thirds of the way round. This will enable you to get stuffing in all the little corners and make sure your stuffing is even throughout (no-one wants a lumpy decoration!). You can use a knitting needle or something similarly pointy to get the stuffing in small corners. It can also be good to think about ease of stuffing when choosing where to start with your sewing up as well.
There is a great tip on this page for separating out a single embroidery thread.
Don’t forget to sew the hanging ribbon in when you are sewing the two main pieces together! (I may have done this…)

Above you can see the decorations that I made, and the photo below shows all 12, made by The Make Arcade. Aren’t they all so cute and fun?!

Photo: The Make Arcade
Once you have completed your decorations, you could hang them individually on your tree, give them as little gifts or stocking fillers, or string them all into a garland like subscriber Alison did (below). Don’t they look amazing like this?!

If you would like to make these cute felt decorations for yourself, you can purchase this kit here. It’s a really lovely kit, and the felt decorations are just so fun!
Rachel x